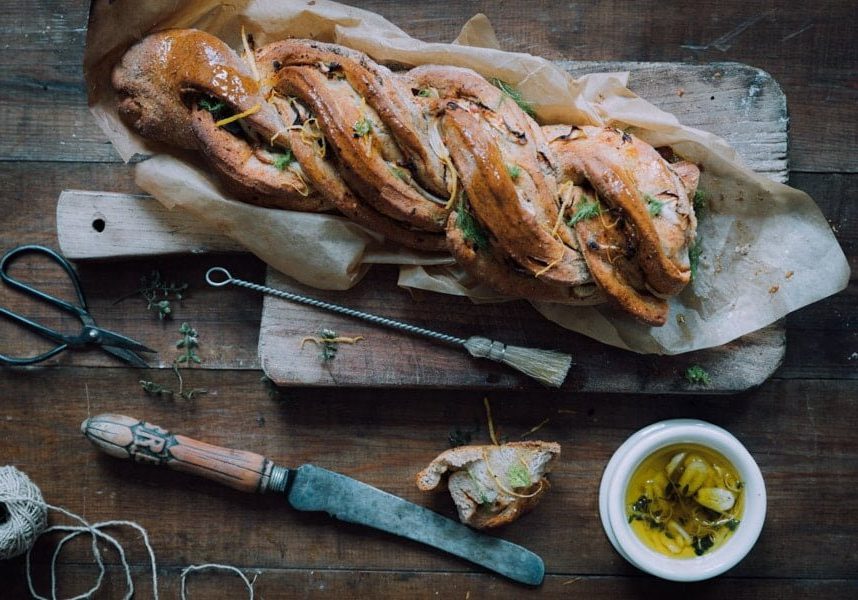
9 Essential Food Photography Tips for Bloggers & Stylists
Are you a photographer who loves the colours, textures and shapes of food? Read on for 9 tips on how to create great food photography!
Learn | Photography Guides | By Joan Ransley
I am a photographer who loves to photograph food. Photographing food is a big subject. It ranges from shooting exquisite dishes prepared by top chefs to recipes devised for food companies, books, and editorial projects.
It also includes photographing food growing in fields or being processed in smokehouses and bakeries. I even take portraits of people involved in producing food.
To be a top food photographer, you need to like, understand and be interested in food.
You also need to love how food looks and how it can be styled for photographs. You have to be comfortable around food.
Here are my top 9 food photography tips for 2023.
See also: Food photography hacks and tricks revealed
Table of Contents
9 Food Photography Tips for Food Bloggers & Photographers
1. Know Your Subject
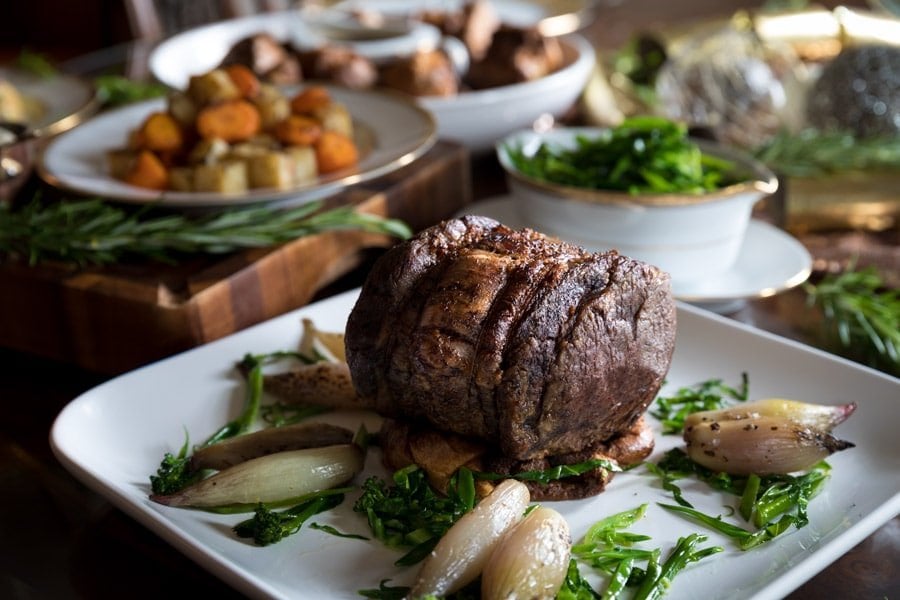
Food Photography: Roast beef | Canon 5D MarkIV + Canon EF 24-70mm f/2.8L II | 1/6 f/5.0 ISO 200
It helps if you have experience with cooking and food preparation, because this gives you the language to talk to chefs and food stylists to get the most from your food photography.
You also need to appreciate the amazing skills and ingredients required to produce top notch food.
The best place to start learning about food photography is your own table. This is where your interest can flourish.
Cooking and presenting food at your own table is great practice for assembling and creating a set for commercial food photography.
Food photography, like all photography, is an exercise in observation. When you are at home, you can learn to train your eyes to look at how light falls on the food around you.
For example, you might note how the morning sun hits a bowl of summer-fresh tomato salad or the skins of dark figs.
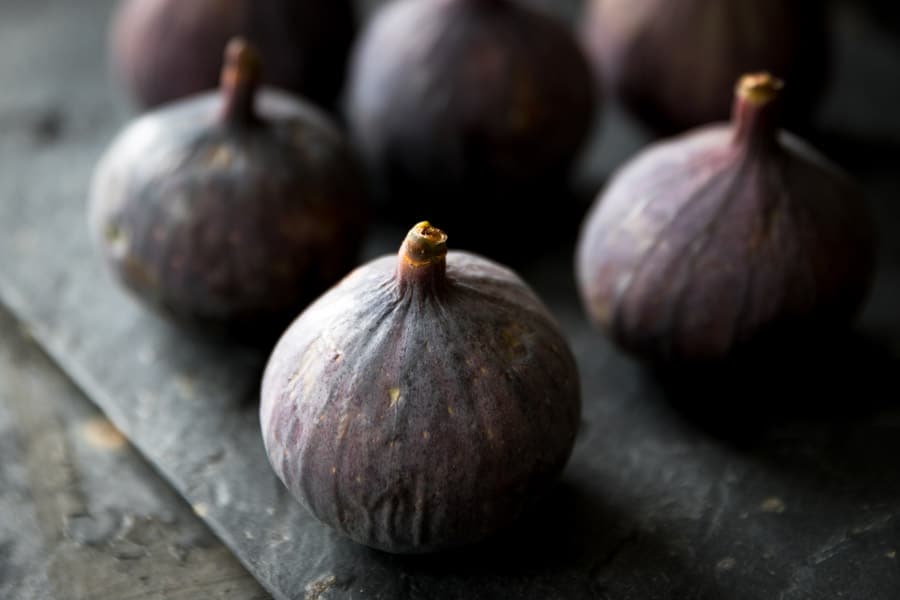
Food Photography: Fresh figs from Turkey | Canon 5D MarkIV + Canon EF 24-70mm f/2.8L | 1/8 f/3.2 ISO 100
When food is cooked, its properties change. As a food photographer, you may need to work with chefs or stylists to determine when the food looks best for a photograph. They might not know this.
Some food might be better to photograph when slightly under-cooked, like green vegetables. Other food might be better slightly overcooked, like the outside of meat.
2. Show Off Details
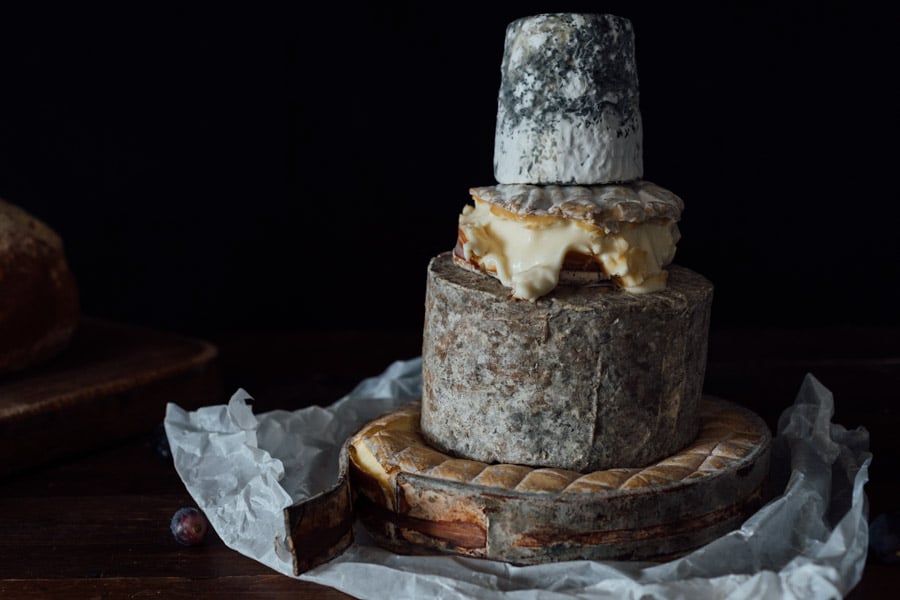
Food Photography: Artisanal cheese | Canon 5D MarkIV + Canon EF 24-70mm f/2.8L II | 1/15 f/5.0 ISO 200
If you are photographing beautiful bread made by a skilled baker, as opposed to a cheap loaf from a supermarket, this needs to be communicated in the photograph you take.
Documenting the details of fine foods is really important.
For example, you’ll want to capture the ooze of cheese and the different textures of the rind. Using a macro lens can be useful to show up the fine details – see our guide to the best lens for food photography.
3. Use the Power of Storytelling
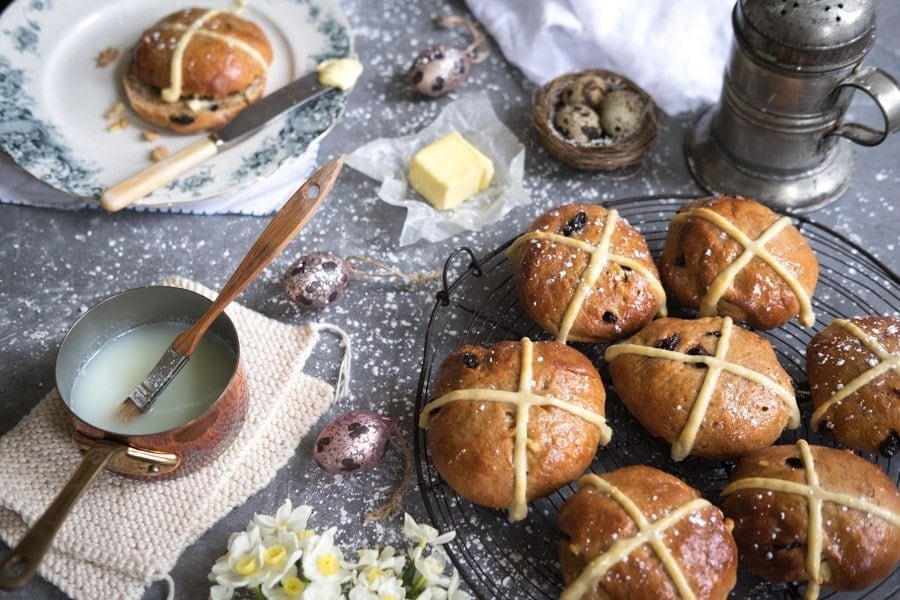
Food Photography: Hot cross buns | Fuji X-T1 + Fuji XF 35mm f/2 R WR | 1/125 f/2.8 ISO 500
One aspect of food photography I really enjoy is ‘storytelling’. Each photograph of food that I take tells a story.
It might be quite simple; for example, the photograph might illustrate how to make hot cross buns. In that photograph, I have to communicate something about the tradition of Easter and the fact that the buns are homemade.
Understanding the story you are telling is important, because it will guide the props and backgrounds used in the set you create.
4. Create a Beautiful Set
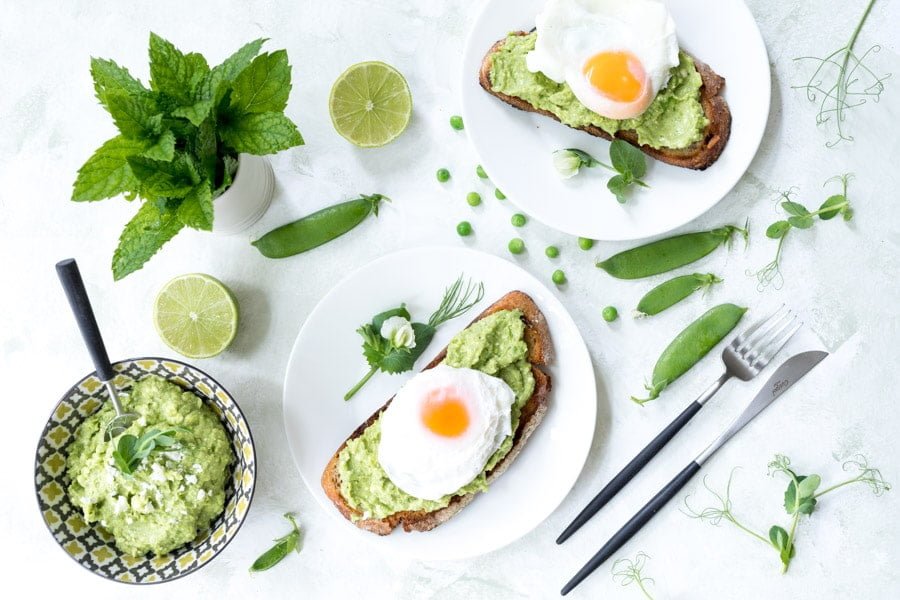
Food Photography: Crushed avocado and peas on toast with poached eggs | Canon 5D MarkIV + Canon EF 50mm Macro f/2.5 | 1/10 f/8.0 ISO 500
Backgrounds are very important in food photography because they help to create the mood of the photograph.
How Much Do You REALLY Know About Photography?! 🤔
Test your photography knowledge with this quick quiz!
See how much you really know about photography...

Light, bright, high-key photographs are often shot using light backgrounds and can be great for shooting food with a health message.
Dark, low key backgrounds are great for creating a moody feel for more indulgent food.
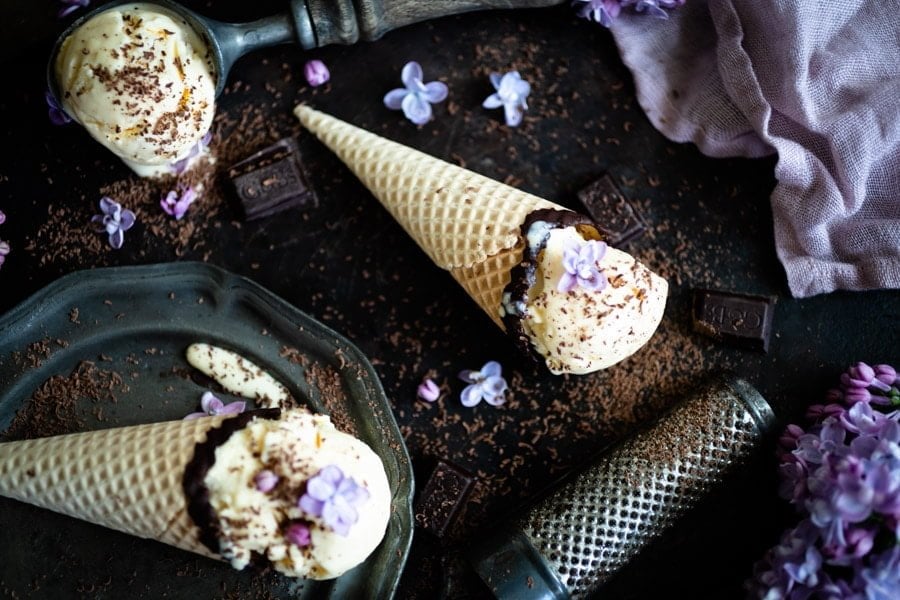
Food Photography: Lilac flowers and ice cream | Canon 5D MarkIV + Canon EF 50mm Macro f/2.5 | 1/40 f/2.5 ISO 200
There are now companies that create great, wipe-clean backgrounds for food photography.
Another option is that you can collect old doors or paint pieces of wood by yourself.
Stay on the look out for interesting items you can use as props for your food photography styling.
5. Use Great Props
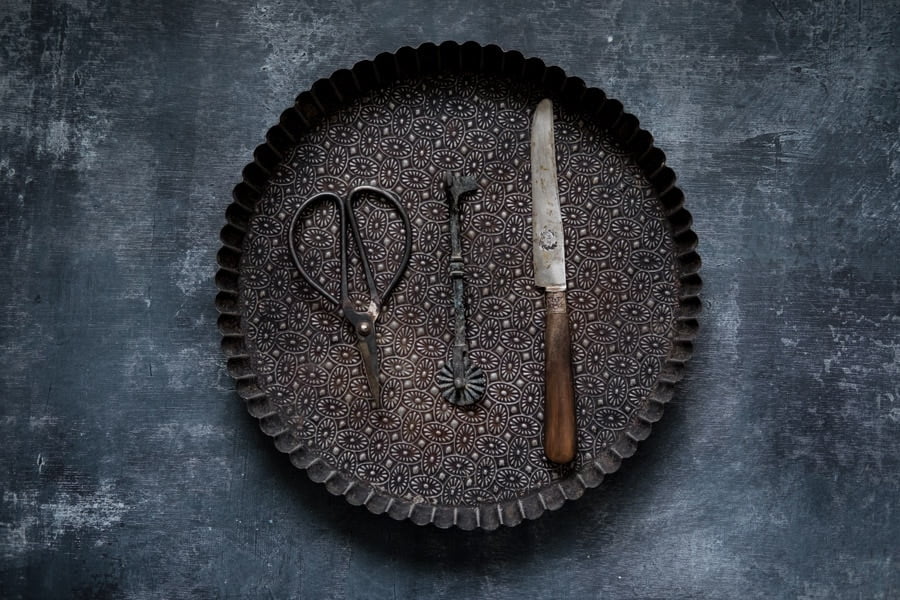
Food Photography: Vintage flan tin, pastry cutter and botanical scissors | Fuji X-T1 + Fuji XF 35mm f/2 R WR | 1/125 f/2.8 ISO 1600
Food photography props can also add interest and meaning to your photos of moutwatering food. For example, it is often important to see inside a dish. A well-placed knife or fork can reveal the inside of a dish such as a fish pie.
It can be important to show the texture of some foods such as cake. A few crumbs scattered artfully on a plate can suggest a crumbly texture. We call scattered crumbs and artfully placed mess ‘crummage’ in the trade!
I always suggest collecting a few ‘hero’ props, like lovely ice cream scoops, vintage flour sifters etc.
When I compose a food shot, I set everything up before I bring the food to the set. I position my camera on a tripod and tether it to my computer so my client can see what I’m up to.
6. Find the Right Angle
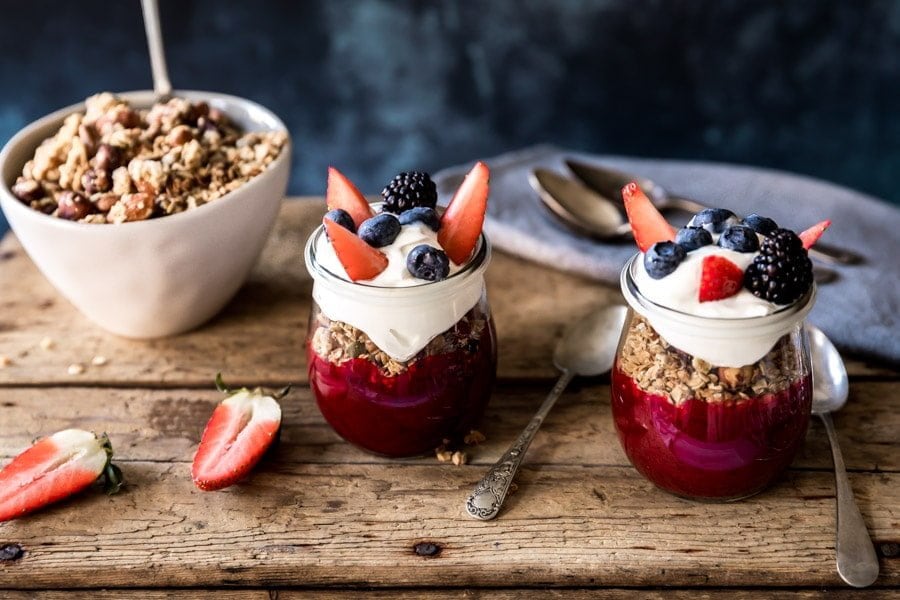
Food Photography: Granola layered with fruit purée and yogurt | Canon 5D MarkIV + Canon EF 24-70mm f/2.8L II | 1/6 f/4.0 ISO 1000
Make sure to try out a few different angles with the food that you’re shooting to find the one that works best! With practice, you’ll start to develop an intuition for it.
Some foods look great from above, like the geometric patterns in cut oranges. Some dishes look better shown at an angle of 45 degrees, as if you’re sitting down to eat them. Tall cakes look better shot straight on.
Take the HARD Photography Quiz! 🤯
Now it's time to really test your photography knowledge!
(99% of people can't get all the questions right...)

7. Let There Be Light
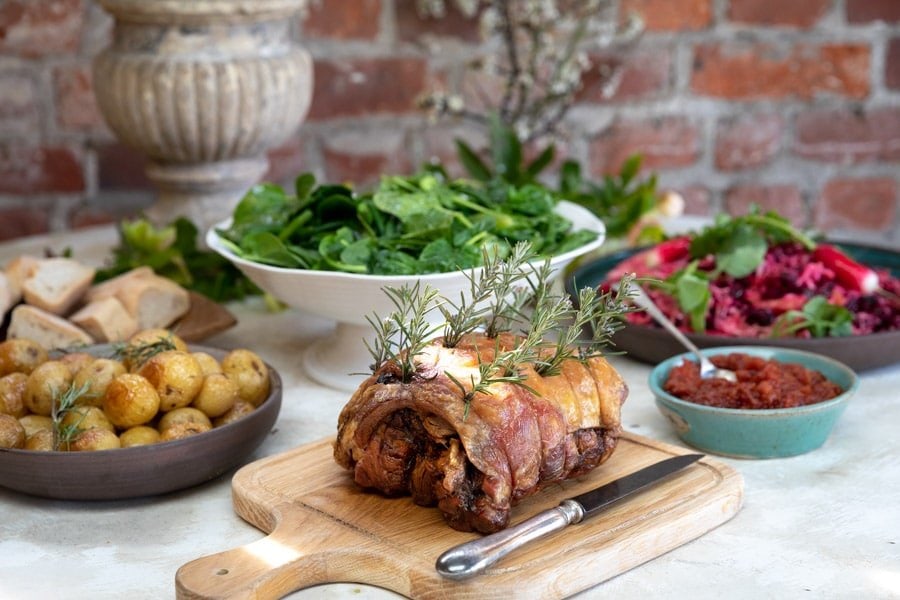
Food Photography: Roast lamb taken outside | Canon 5D MarkIV + Canon EF 24-70m f/2.8L II | 1/200 f/5.0 ISO 800
Just like with any form of photography, light is crucial.
Before I even bring the food out, I look at the set to see where the best light is falling, which direction it is coming from, and how strong it is.
I mostly use daylight and diffuse it if necessary, to avoid harsh shadows and ensure the colours are true.
I am also fanatical about achieving tack-sharp focus where I want it, and I think carefully about the depth of field.
[Related: How aperture affects depth of field.]
8. Beware the Window of Freshness
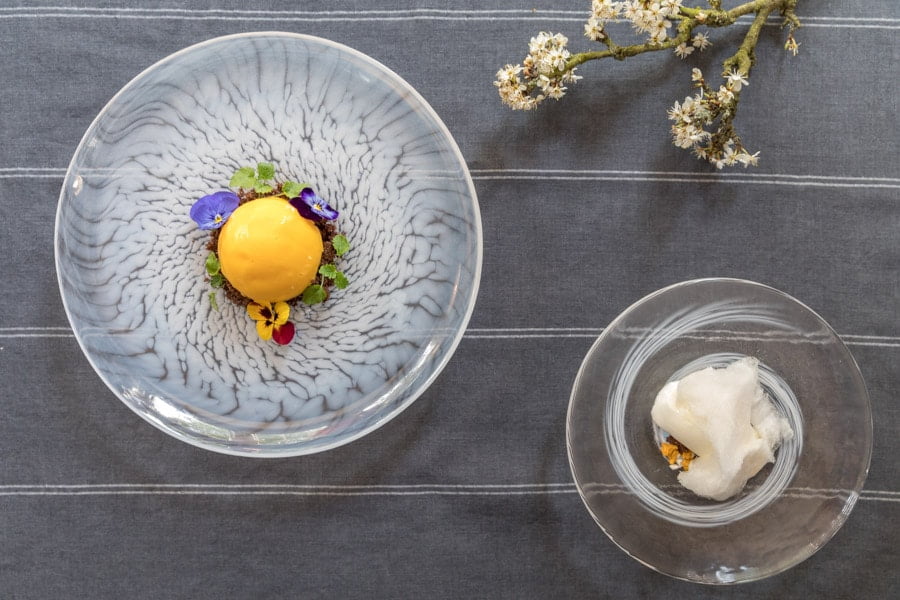
Food Photography: Lemon sorbet with viola flowers | Canon 5D MarkIV + Canon EF 24-70mm f/2.8L II | 1/30 f/5.6 ISO 640
One thing you have to think about with food is its ‘window of freshness’.
Food is a delicate material and it changes over time.
For example, ice cream melts, fats solidify, beetroot bleeds into other foods, cut fruit and vegetables dry out, and solids suspended in liquids separate.
Due to this, I wait until everything is set up and I am happy with the test shots before I bring the food to the set and shoot it.
Usually you have about 20 minutes to work with a dish, and as the photographer you have to be alert to how the food is changing as time moves on.
There are a few tricks you can learn to extend the window of freshness. For example, a spritz of water can freshen up a dish, and you can keep herbs and salads hydrated in water or on ice.
When the main shots are in the bag, if I still have time in the window of freshness, I may take the camera off the tripod and take some freehand shots.
I might experiment with different angles, move the food around, and rearrange the props. I do this because it’s a creative exercise and it sometimes pays off in terms of creating shots I hadn’t thought of.
9. Make Post-Production Obsolete
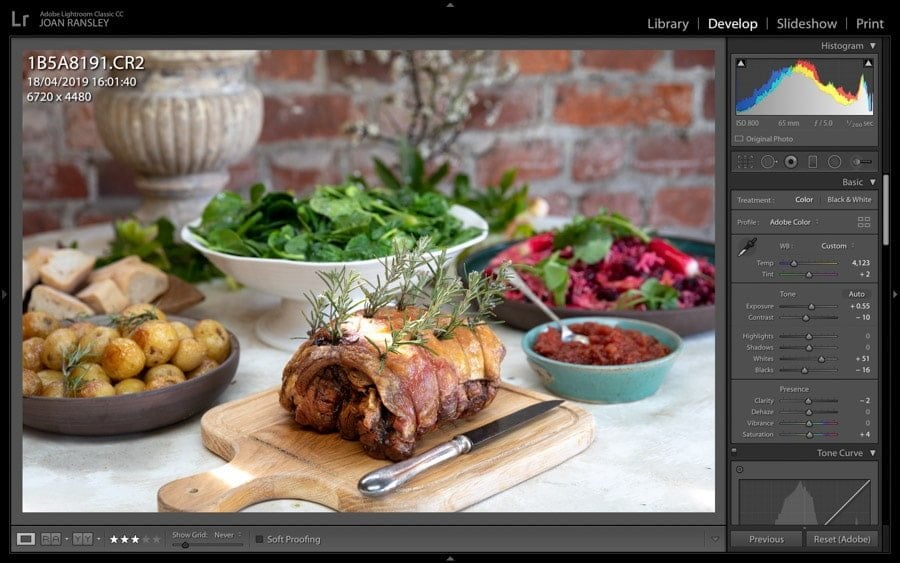
Screen shot of post-production in Adobe Lightroom.
I make very few adjustments in Lightroom. If the photograph has been set up carefully, very little needs to be done.
I usually just correct for the lens used, adjust the light and dark areas of the photos, and do a little cleaning if there are spots of liquid or crumbs in the wrong place.
Tips for Better Food Photography | Final Words
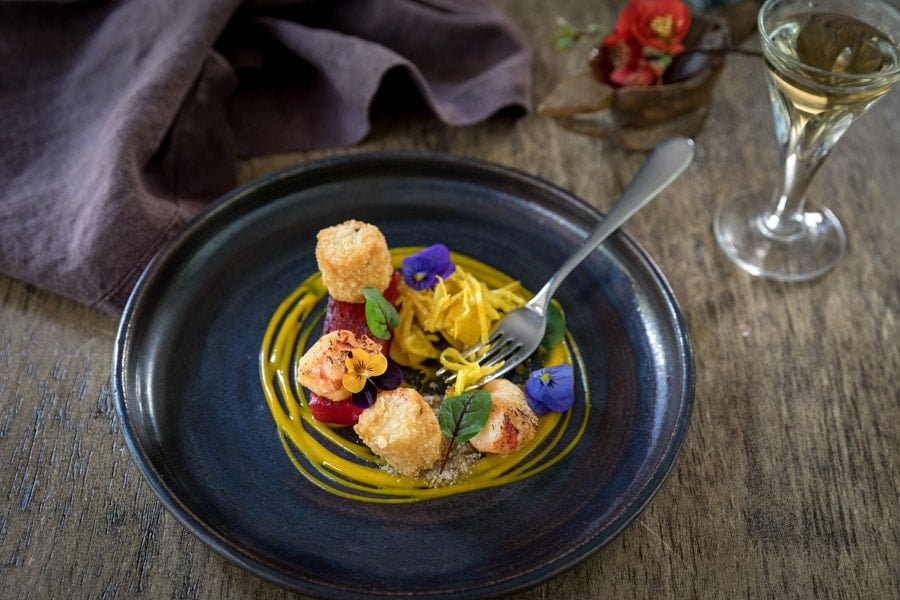
Food Photography: Lobster with mango spaghetti and sauce | Canon 5D MarkIV + Canon EF 24-70mm f/2.8L II | 1/60 f/4.0 ISO 800
If you’re going to invest the time it takes to become a better food photographer, you first need to have tip-top photography skills.
In particular, you need to be great at taking close-ups and still life shots, taking portraits of people working with food, and capturing action.
You also need to be knowledgeable about food and love how it looks, tastes and feels.
If the colours, textures and shapes of food excite you, make your heart beat faster, and make your tummy rumble, then it might just be worth giving food photography a go!
I hope this article gave you a better insight into how to take good pictures of food. Leave your questions in the comments below, and good luck!

Check out these 8 essential tools to help you succeed as a professional photographer.
Includes limited-time discounts.


