
Justin Brown
Film Makers | Last Updated: June 9, 2023
Hi, I’m Justin Brown. I’m a YouTube creator and video marketing specialist based on the Sunshine Coast in Australia.
I worked in the professional video industry for twenty or so years, producing everything from Netflix-featured documentaries to extreme sports projects with pro-level athletes.
In 2015, I created the Primal Video YouTube channel with my brother Mike. We started with the goal of helping people grow their businesses and brands with video.
Having worked in the video industry, I knew what a powerful tool video can be and we wanted to help others harness that power.
Our YouTube channel has now grown to over 1.4 million subscribers, helping millions of people each month to generate a meaningful income online by doing what they love and helping others they’ll impact most.
One of our big beliefs is that you don’t need the latest or greatest gear to create high-quality content. You can get started with something as simple as your smartphone, built-in microphone and natural lighting if that’s what you have access to.
We hate seeing people being held back by thinking that they don’t have the ‘right’ gear.
I don’t have the fanciest equipment or the latest models, but it’s the gear that ticks the boxes for me. When something stops working, or I need to upgrade for a specific reason, that’s when I’ll look at new gear.
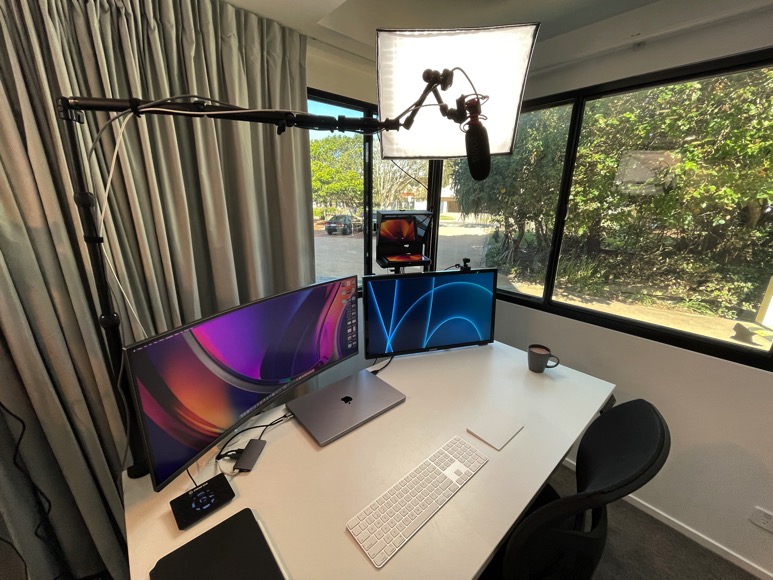
So here’s the setup I use to create weekly YouTube videos, do live streams, film content for our online course and any other video-related stuff.
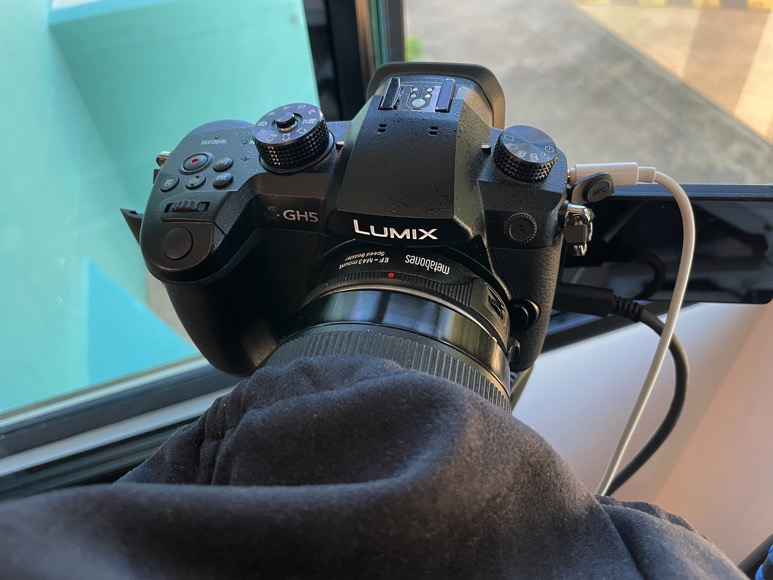
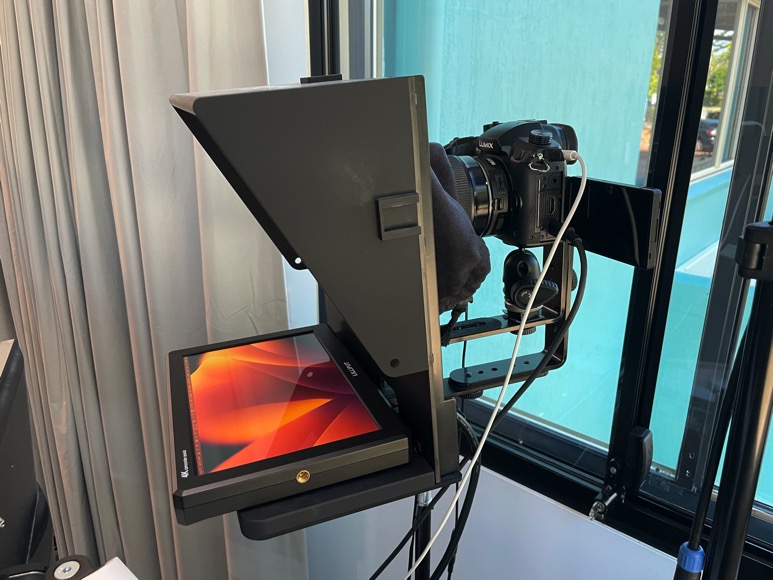
For filming YouTube videos, I have the Panasonic Lumix GH5 with a Metabones Speed Booster and Sigma 18-35mm f/1.8 lens.
The camera is by no means the latest or greatest, but it’s high quality and works really well.
The Metabones Speed Booster allows for the use of Canon EF lenses on the Micro Four Thirds (MFT) camera, giving a lot more lens options.
For this setup, it means better low-light performance and shallower depth of field, but at the cost of autofocus, which isn’t great on the Panasonic Lumix GH5 anyway and much worse with this adapter and lens!
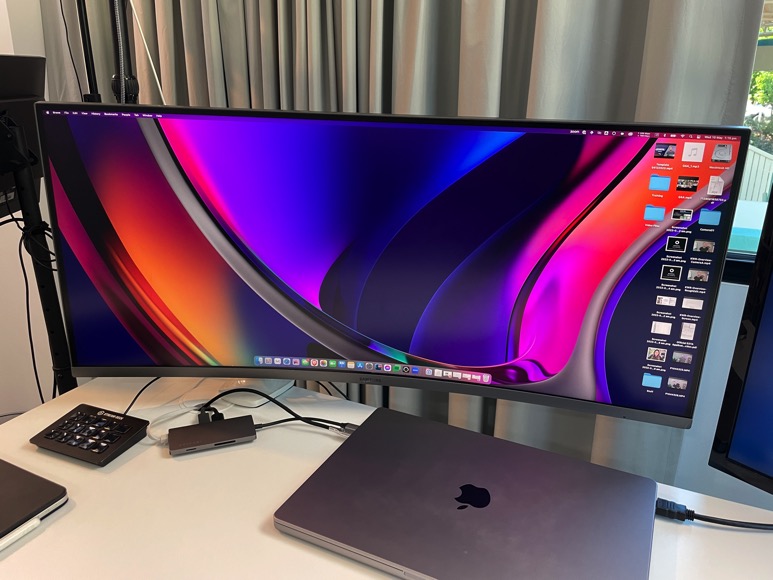
This isn’t a problem though, as everything I shoot is locked down in manual modes and manual focus and controlled using Panasonic’s LUMIX Tether app for computer.
It’s all super easy to use, and I don’t need to touch the camera at all. Everything can be done directly from the computer with a couple of button presses.
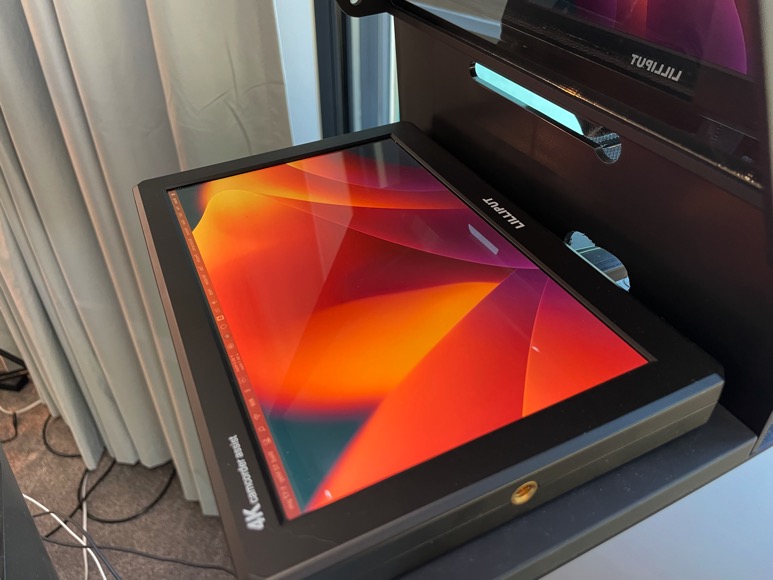
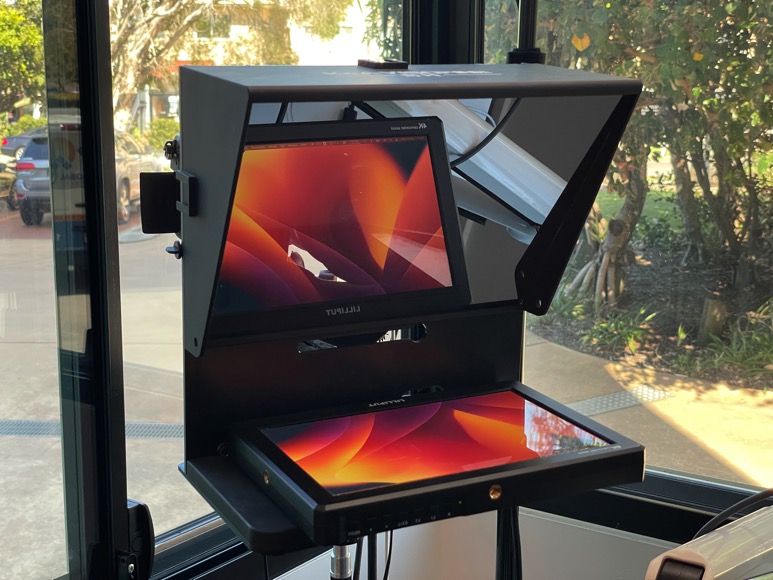
Below the camera setup, I also have a confidence monitor so I can see what the camera is recording.
In front of the camera is a teleprompter for times when I need to read a script word for word. I use the Yogogo Teleprompter, which is a cost-effective option that offers great value and works really well. It supports the Lilliput Screen, which is a 4K display.
The camera, teleprompter and confidence monitor are all mounted on a light stand instead of a traditional tripod.
I decided to do it this way because the equipment doesn’t need to be adjusted or moved, so the stability of a tripod really isn’t required. The light stand is an awesome solution that can be adjusted to the perfect height and then left as is while taking up hardly any space.
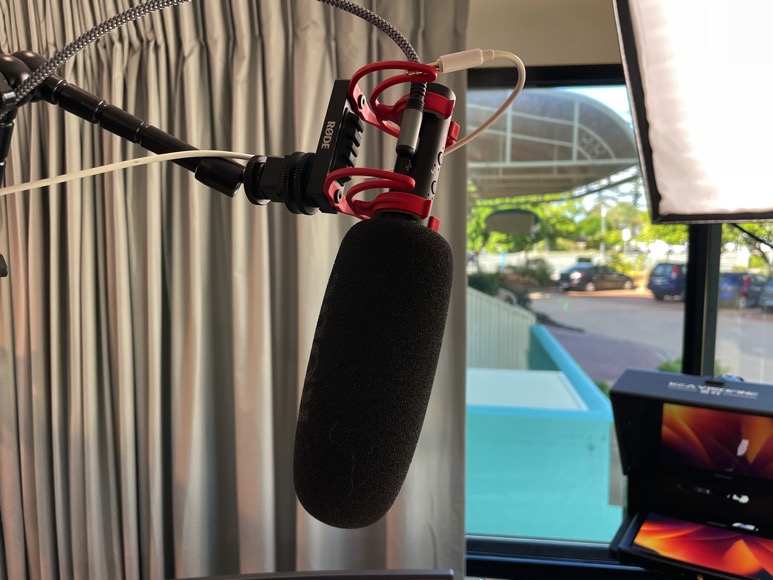
The primary microphone that I use is the Rode VideoMic NTG. This microphone connects directly to the camera, removing the need for any additional audio mixers. I always prioritize simplicity!
The mic is also connected to a Mac Mini M1 so I can use it for webinars, live streams or video calls. It’s mounted on an adjustable arm, meaning it can be repositioned in front of the camera or my desk really easily.
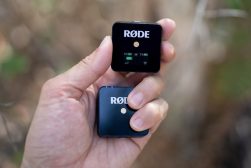
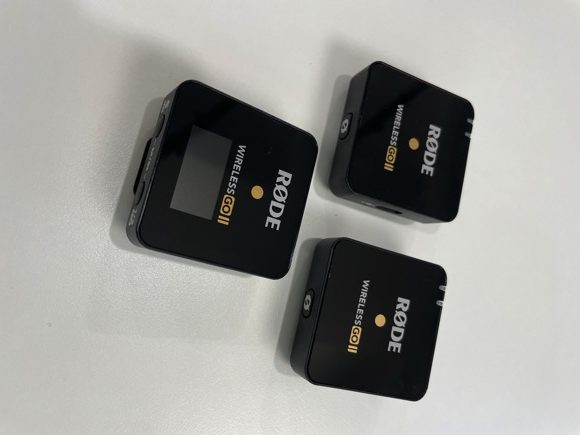
As a failsafe, I also use a Rode Wireless Go II lavalier mic taped beneath my shirt. Having this as backup audio gives me peace of mind in case anything goes wrong with the primary audio.
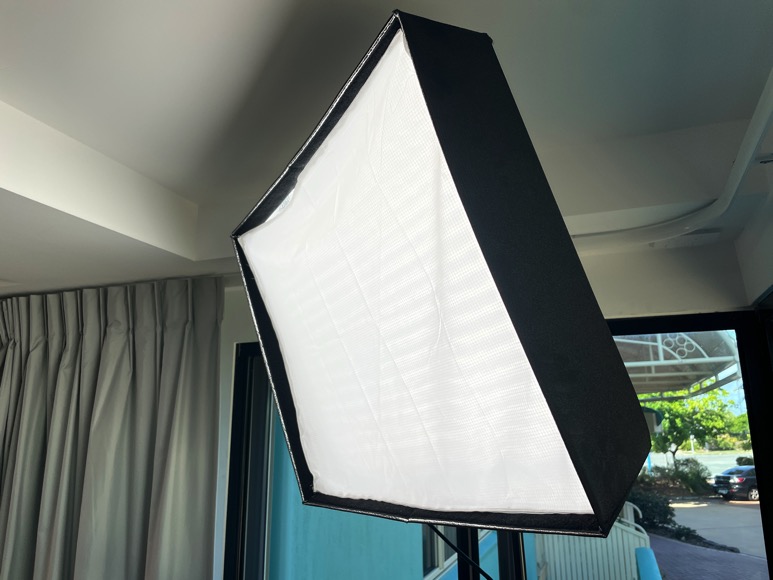
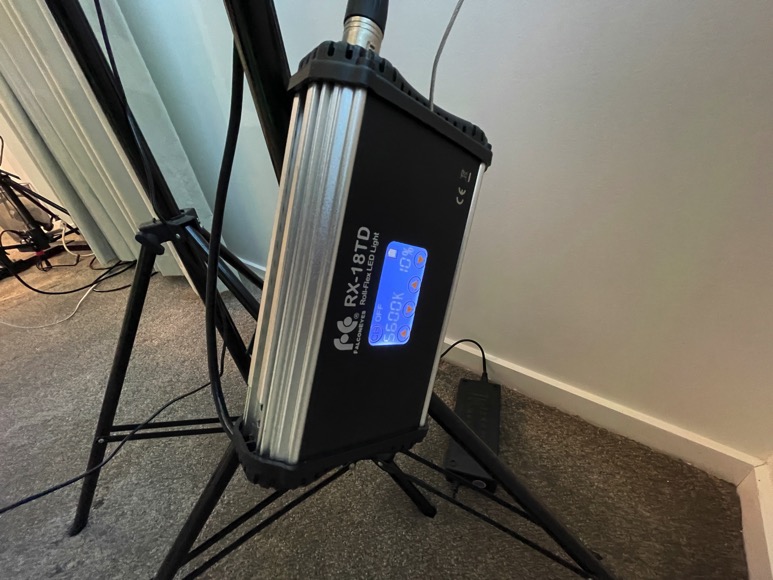
For lighting, I use a Falcon Eyes light as my primary light source. It’s a more expensive option, but it works amazingly well.
The light is so powerful that even on low power, it still has a big impact. The dome shape of the light throws a soft glow that perfectly lights you up.
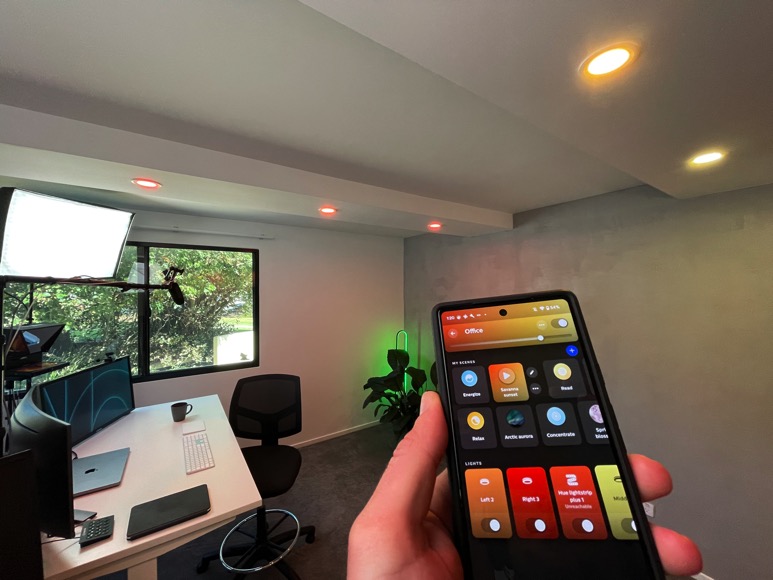
There are also nine Philips Hue Smart Lights installed in the ceiling of my studio.
Each light can be individually controlled via an app, which allows me to dial in the look and feel of the lighting. By adjusting colour, temperature and brightness, I can transform the look of our YouTube videos.
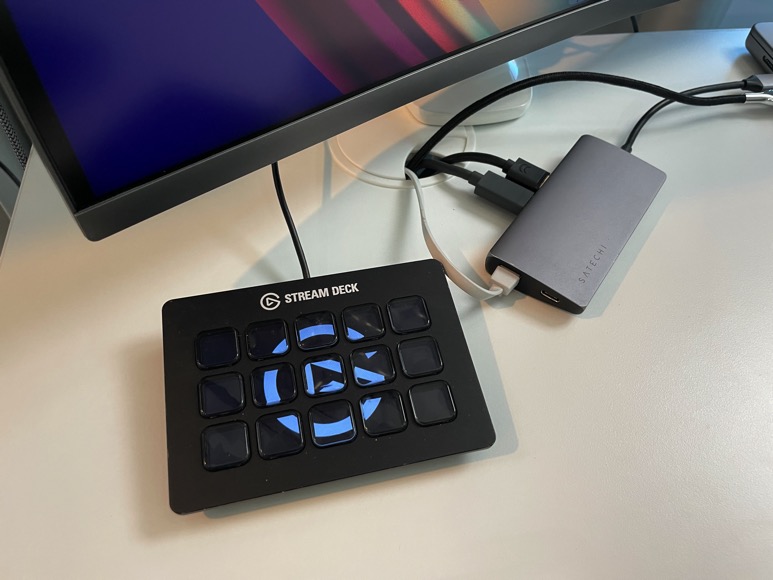
The ceiling lights can also be controlled using the Elgato Stream Deck. The Elgato Stream Deck is an awesome tool that has different buttons you can use to do things like switch scenes and adjust audio. All helping to streamline your workflows while creating content.
I have a range of different lighting presets set up within the Stream Deck. This means I can change everything up literally with the press of a button!
Top-down or overhead shots are awesome for showing products in reviews or tutorials. To capture these shots, I have a microphone boom arm mounted to my desk. I simply insert my phone, position it over the desk and start recording.
The footage can then be transferred to the computer using AirDrop.
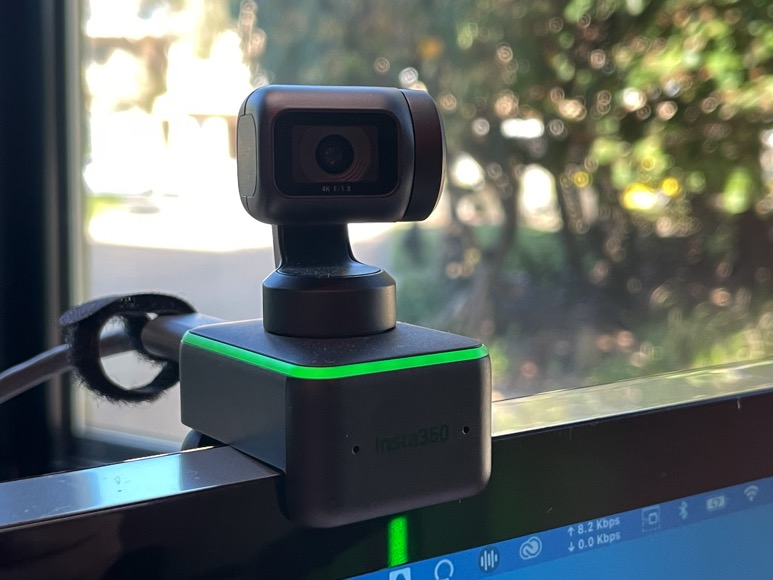
My go-to webcam is the Insta360 Link. I think it’s the coolest piece of tech right now! It has a tiny gimbal and some crazy AI features.
It’s such high quality that I even use it to film a lot of our content, including for our Primal Video Accelerator program.
So that’s my complete filming set-up, but always remember, you can film great videos using whatever you might already own – your smartphone or built-in webcam, for example.
Don’t let needing the ‘best’ gear hold you back!

Check out these 8 essential tools to help you succeed as a professional photographer.
Includes limited-time discounts.


