


25 Alternative Photography Processes To Try
Explore 25 unique and creative alternative photography processes in our guide, perfect for photographers seeking to experiment with unconventional techniques.
Learn | By Jeff Collier
No matter how advanced digital photography gets, handmade image prints using old methods maintain their charm.
That’s why many creative artists still revisit alternative photography processes to produce unique photographs.
The following guide to alternative photography processes will teach you many techniques to try for mesmerizing results.
Table of Contents
What Are Alternative Photography Processes?
The expression “alternative photography process” refers to any non-traditional methods used for creating photographic images.
Such processes deviate from the standard digital or silver gelatin photography commonly used nowadays.
Instead, they involve the use of historical methods, photosensitive chemicals, and unusual materials to produce images with special characteristics.
Oftentimes, many photographers choose to experiment with the old alternative photographic processes to add a modern twist to their work.
That’s because they help produce fantastic and mostly unpredictable effects. Moreover, these processes allow them to explore the boundaries of self-expression through photography.
Despite being around for over a decade, some alternative processes remain popular among contemporary artists and photographers.
25 Best Alternative Photography Processes
When it comes to image production, the sky’s the limit for creative photographers trying alternative processing.
Some of them induce the most bizarre chemical reactions on the most unbelievable surfaces, such as bones, eggshells, pillows, etc. Most of these photos don’t even require a camera!
Below are 25 of the most fascinating alternative photography processes to try. Check them out.
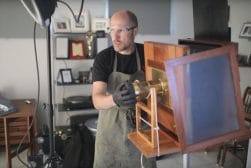
1. Tintype (Wet Plate Collodion)
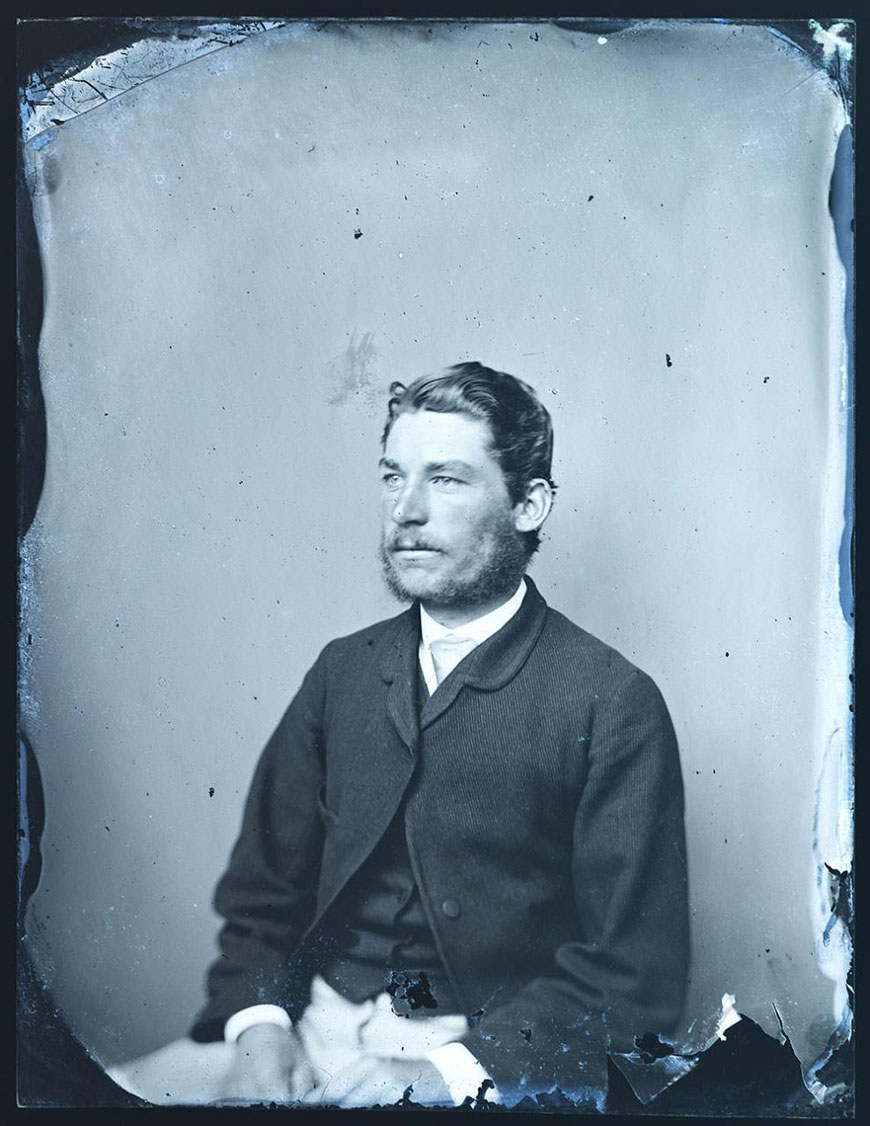
Glass wet plate collodion. Credit: whatsthatpicture from Hanwell, London, UK, CC BY 2.0, via Wikimedia Commons
Invented by Frederick Scott Archer back in the mid-19th century, wet plate collodion has gained popularity due to its magnificent details.
It remained the main technique for processing images throughout the 19th century and paved the way for most modern technologies used today.
In the tintype process, photographers use a metal plate as a substrate to carry the light-sensitive emulsion.
Basically, the creation of this emulsion involves using a mixture of bromides, ether, iodides, and alcohol. Such a combination only becomes light-sensitive when you add silver nitrate to it.
So, as long as the emulsion is still wet, it remains most sensitive to light. That’s why such a process necessitates a portable darkroom to develop photos within a span of 15 minutes.
2. Ambrotype
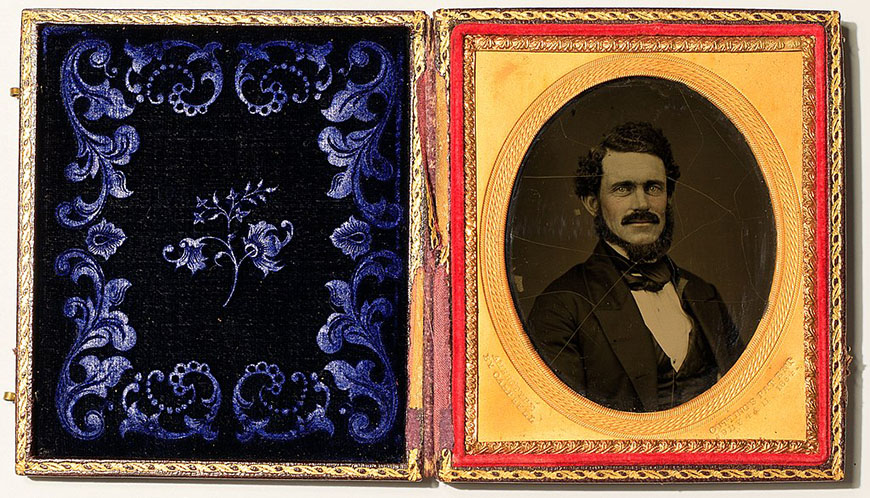
Credit: Hamilton Campbell, CC0, Frank Schulenburg Photographic Collection, via Wikimedia Commons
This method is a derivative of the wet plate collodion process. However, instead of the metal plate, it uses glass as the substrate.
Unlike the metal plate that has a black surface allowing the image to appear as a positive, clear glass makes the image appear as a negative.
In general, photographers use the glass plate with the negative image for printing as is. Otherwise, they can back the plate with black paint (japanning) to get a positive image.
How Much Do You REALLY Know About Photography?! 🤔
Test your photography knowledge with this quick quiz!
See how much you really know about photography...

As an enthusiast of experimental photography, you may try using colored glass to create unique shots in various color hues.
3. Daguerreotype
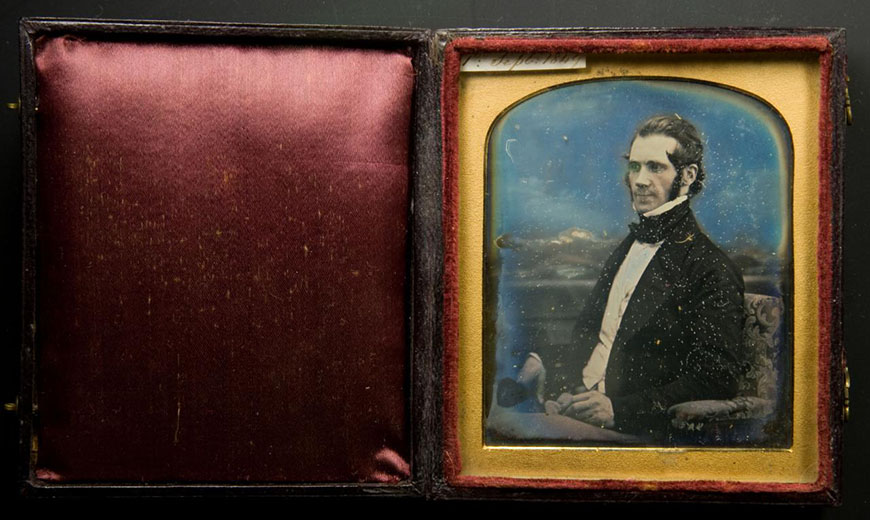
Credit: whatsthatpicture from Hanwell, London, UK, CC BY 2.0, via Wikimedia Commons
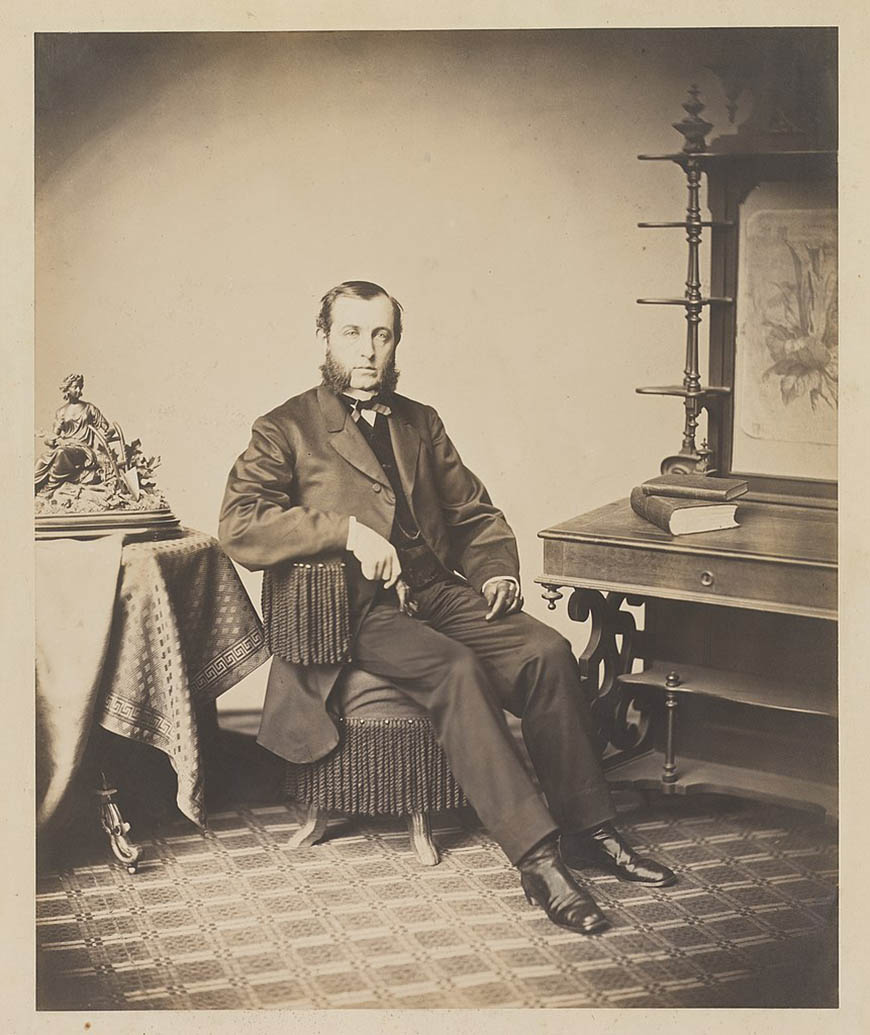
Daguerreotype is the first photography process to become publicly available. It was widely used during the 40s of the 19th century before replacing it with wet plate collodion.
Since the late 20th century, there’s been a reviving movement for such an old technique by a few artistic photographers.
Principally, daguerreotypists used a sheet of silver-plated copper polished to appear as a mirror. Then, they made its surface light-sensitive by treating it with fumes.
For brightly sunlit objects, the reflective sheet needed to be exposed to light inside a camera for only a few seconds. Yet, the dimmer it was, the longer it took to process the image.
After light exposure and developing the image over hot mercury, photographers would immerse the plate into a solution of salt or sodium thiosulfate. Then, they would tone it with gold chloride.
4. Dry Plate Tintypes (Gelatin Silver Printing)
Unlike wet plate tintypes, dry plate tintypes don’t require a limited time frame to process the photos.
Largely, dry plate tintypes use a base of a black aluminum plate coated with a silver gelatin emulsion, which can be applied further in advance compared with liquid emulsions.
This creates much more flexibility when it comes to the place and time you process your images.
Moreover, it involves easier plate handling, less toxic chemicals, and the ability to put off image development for a later time.
5. Platinum and Palladium Printing
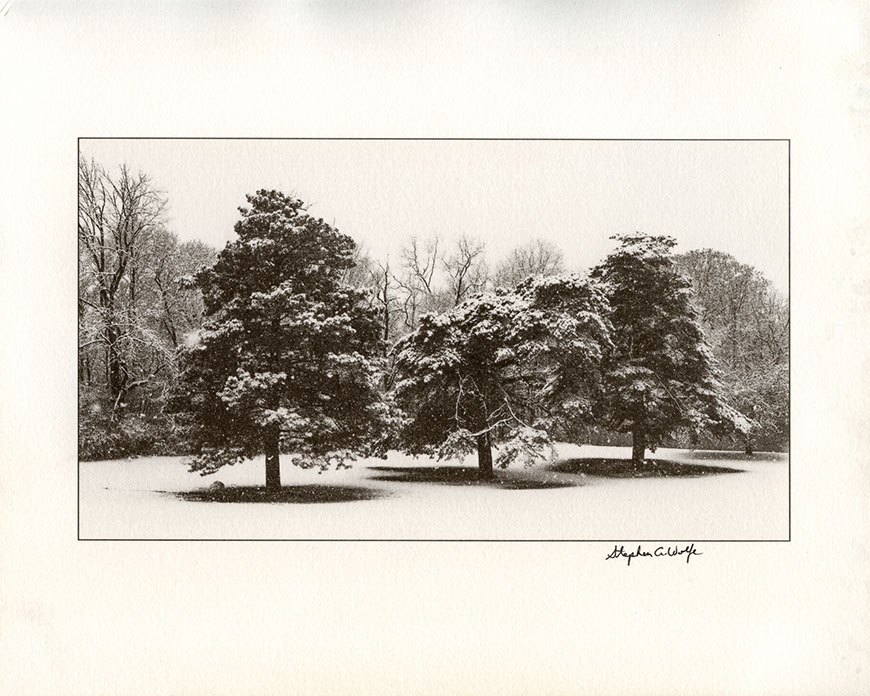
Credit: Stephen A. Wolfe, CC-BY-NC-2.0-DEED, via Flickr
Platinum/Palladium printing was a popular photography process in the late 19th century. It involves using platinum and palladium salts rather than silver as the light-sensitive material.
Such a technique was highly valued back in the day for producing permanent images. Now, it remains as likable for the aesthetic qualities it presents.
Characterized by its remarkable tonality, platinum/palladium printing ranges from warm blacks to reddish browns, with mid-tones of a grayish range.
Generally, the final result depends on the material used. While pure platinum produces cooler tones with higher contrast prints, pure palladium prints have deeper blacks and softer highlights.
Sometimes, photographers use a mixture of both elements to create a balance of tonalities. Otherwise, you can tone the finished print to change the colors however you like.
6. Van Dyke Brown Printing
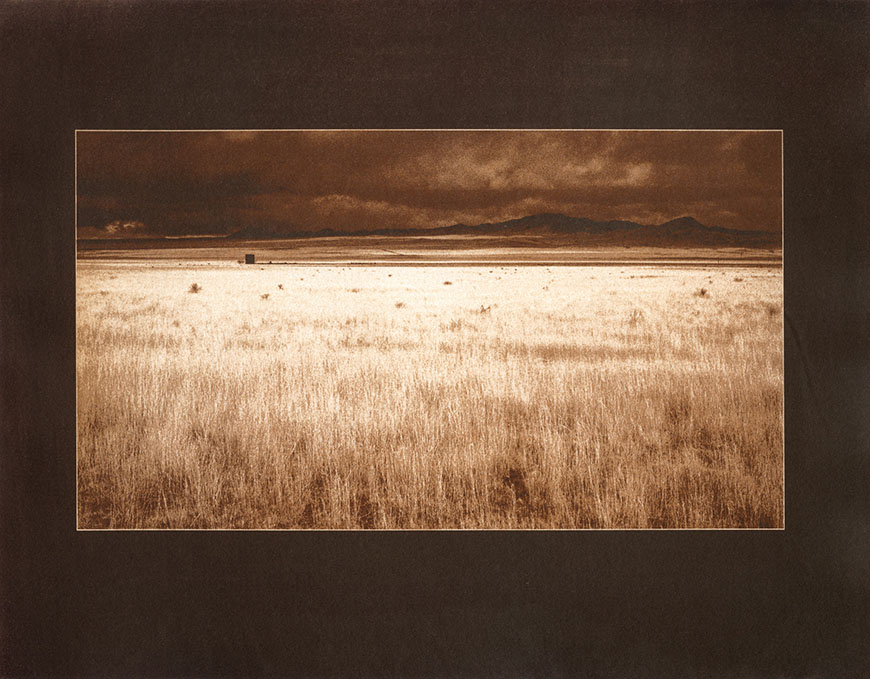
Credit: Stephen A. Wolfe, CC-BY-NC-2.0-DEED, via Flickr
Named after Anthony Van Dyke, this alternative processing method originally had many other names, such as brown prints or sepia prints.
Such a method was patented in Germany by Arndt and Troost near the end of the 19th century.
Unlike other methods, this process doesn’t require a darkroom. It produces images by exposing a canvas coated with tartaric acid, silver nitrate, and ferric ammonium citrate to UV light.
That said, Van Dyke brown prints can have low tendencies to last for long if not properly processed.
7. Cyanotypes
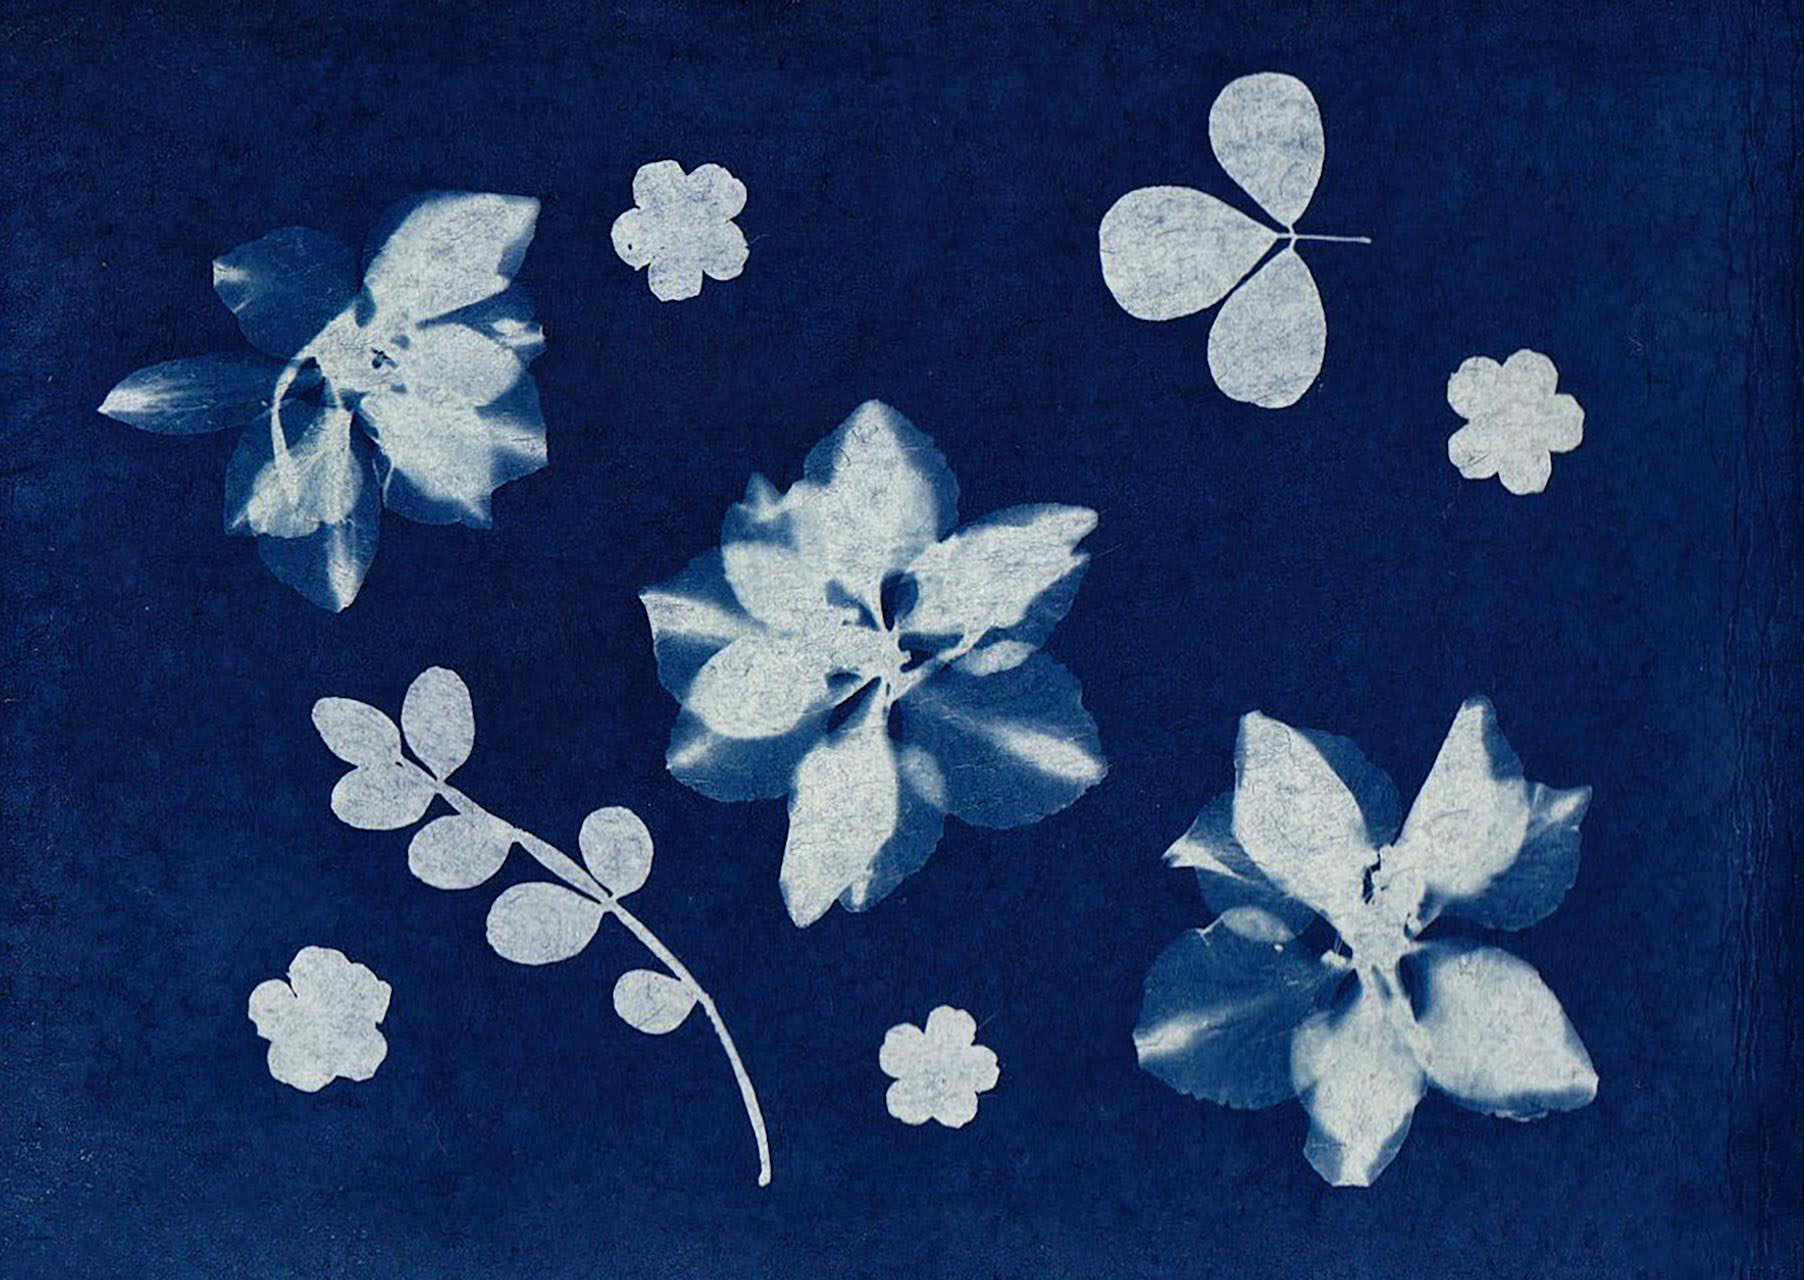
Credit: Lisa Fotios
The cyanotype method is among the oldest types of photographic processes in history. Known for its blue-toned prints, such a process was discovered back in 1842.
Mainly, it involves using paper coated with a light-sensitive mixture of iron salts, such as ferric ammonium citrate and potassium ferricyanide.
When exposed to UV light, these chemicals react to produce cyan-blue images.
Originally, this method was adopted by Sir John Herschel who used it to reproduce mathematical tables and diagrams.
Later, architects followed his lead and used cyanotypes to produce copies of their architectural drawings, hence the name “blueprints.”
8. Multicolor Cyanotypes
This is an interesting variation of the traditional cyanotype photography process.
Yet, instead of the signature blue color, this method achieves a range of hues using a combination of different photosensitive chemicals and pigments.
Photographers using the multicolor cyanotype process expose each color layer separately. Then, by overlapping these layers, they achieve the final image.
Such a process allows for the creation of visually stunning images with multiple color tones that go beyond the usual blue palette.
9. Liquid Emulsion
Credit: Mark Dries, CC-BY-NC-2.0-DEED, via Flickr
Liquid emulsion is a photosensitive coating that photographers can apply to various surfaces, like fabric, paper, etc.
Such a technique gives immense flexibility to artists to make their own custom photographic prints.
All they need to do is coat whatever surface they like with the emulsion, expose it to light, and process it in chemicals to create the final image.
Depending on the type of emulsion used and the substrate, the results of this process vary in color as well as texture.
10. Albumen Printing
This historic technique from the 19th century was the first commercially used method of creating photography prints on paper from a negative.
It uses the albumen found in egg whites and salt to form the paper-coating solution that binds the chemicals to it.
After the paper dries, photographers dip it in silver nitrate and water, transforming the surface into a photosensitive plane.
Then, they place the dried paper in direct contact with the image’s negative and expose it to UV light to transfer the photograph.
Basically, the resulting images are often smooth with a bit of shine on the surface. If toned with a gold solution, these photographs can get a purplish-brown hue, reducing the risk of fading.
11. Hand Painting
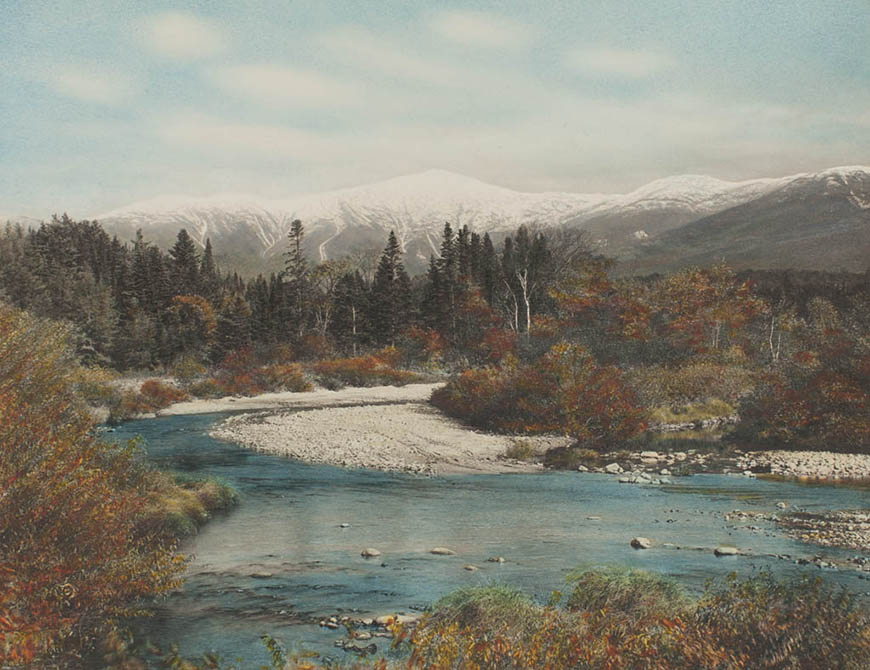
Mt. Washington hand-painted photograph by Charles Henry Sawyer. Credit: Damien.main, CC BY-SA 4.0, via Wikimedia Commons
Also known as overpainting or hand-coloring, hand painting is the process of adding colors to monochromatic photos manually.
Whether in black and white or in sepia tones, you can retouch those photos for more customization to give them a lifelike appearance.
Back in time, prior to inventing colored photography, hand-coloring photographs was a successful business.
To achieve satisfying results, photographers use fine brushes, cotton swabs, or even their fingers to apply these colors to the images.
As for the color types, you can go wild using whatever you prefer, from pastels and crayons to permanent markers.
That said, such a technique requires skill and attention to detail to blend the precision of photography with the creativity of painting.
12. Chrysotype (Gold Printing)
It was also John Herschel who invented this photographic process in 1842, with its name derived from the Greek word for “gold.”
Primarily, the “gold printing” technique got that name because it uses gold to create images on paper.
First, photographers sensitize the papers with a solution of ferric ammonium citrate. When exposed to UV light, these papers darken and create gold-toned images.
In general, chrysotypes are famous for their warm, rich color hues that give them a unique appearance.
Furthermore, images created using this method have high longevity, as gold is a stable material.
While chrysotype is a bit less common than other photographic processes, some artists continue to explore it for the luxurious aesthetics it produces.
13. Salted Paper Printing
Joseph Glidden by unidentified artist from the National Portrait Gallery, CC0 license, via Wikimedia Commons
Salt printing is one of the earliest photography processes, dating back to the 1830s. Created by Henry Fox Talbot, an English scientist, it remained a dominant process for over 20 years.
On top of that, salted paper printing was the first attempt to create a positive photograph from a negative.
Overall, it was the parent process of all silver-based methods created after that.
To reproduce a print, Talbot coated a paper with a solution containing common salt (sodium chloride). Then, he soaked it in a silver nitrate solution after blotting it dry.
Such a process resulted in the formation of light-sensitive silver chloride, transforming the surface into photographic paper.
When exposed to UV light with a negative placed on top of it, the areas with the most light exposure darken.
After that, Talbot stabilized the resulting image using a solution of sodium thiosulfate.
Famous for its warm brownish tones, artists now use this method for its historical and aesthetic qualities.
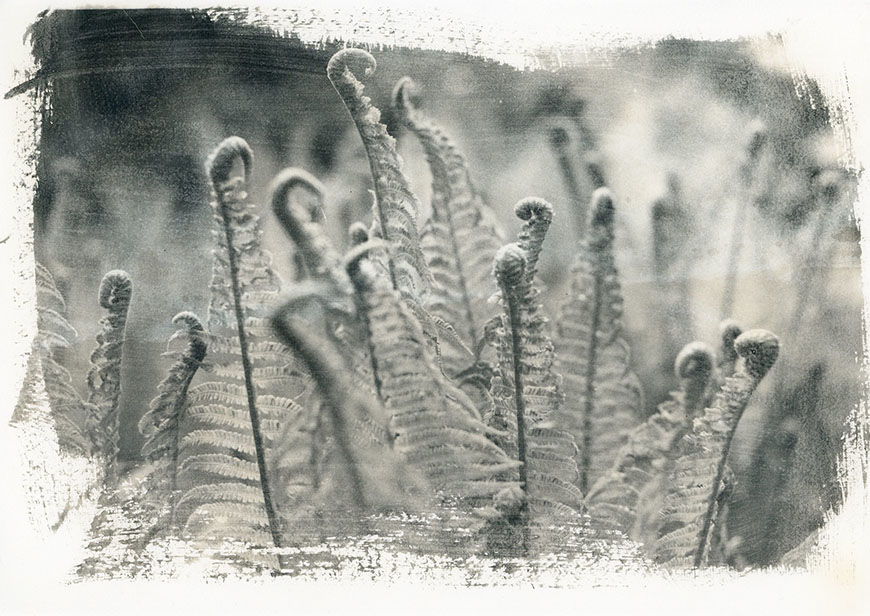
14. Lumen Printing
Credit: George Smyth, CC-BY-NC-2.0-DEED, via Flickr
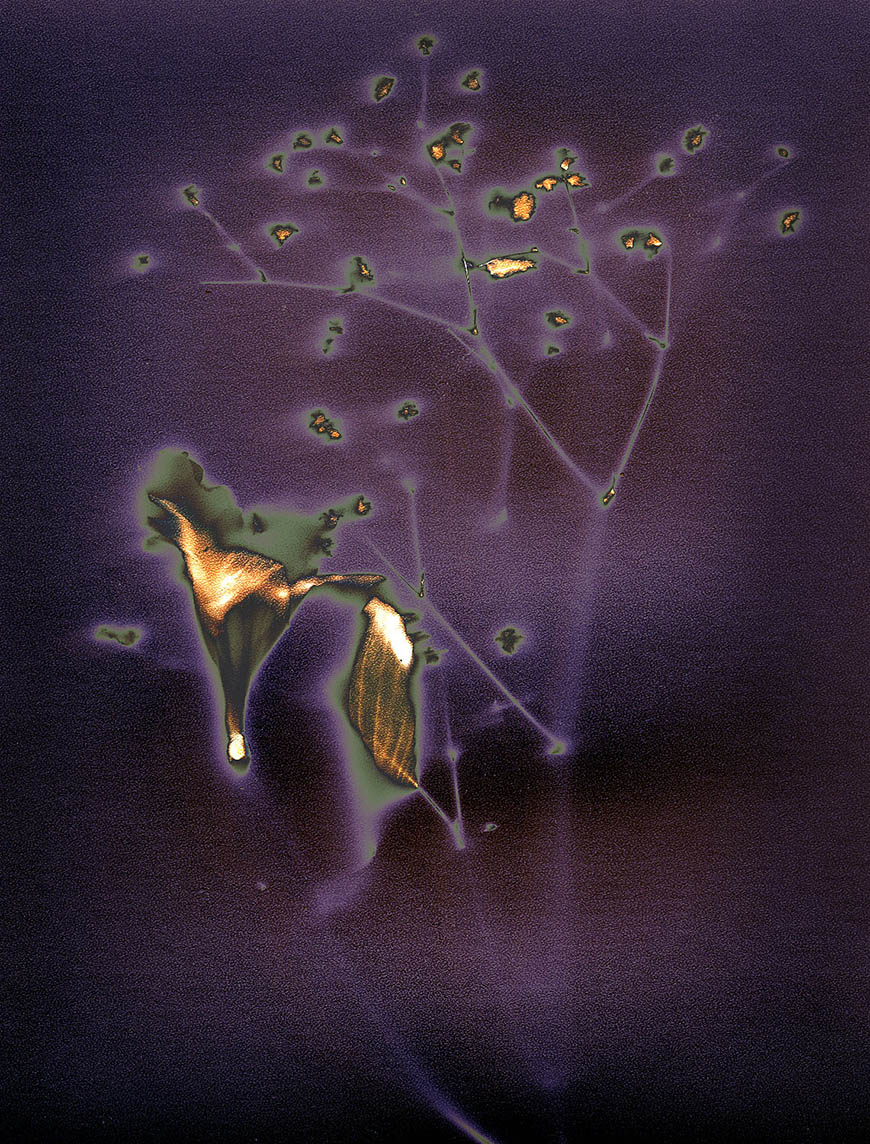
Lumen printing is a cameraless technique that relies solely on sunlight and photosensitive materials.
It dates back to the first days of using cameras when William Henry Fox Talbot was experimenting with a process called photogenic drawing.
In general, lumen printing involves placing a negative (or other objects such as feathers, leaves, lace, etc.) directly onto photosensitive surfaces.
Leaving this setup outside in direct sunlight led to the interaction with UV rays, which created changes of color in the form of silhouettes or outlines.
The duration of this process can vary from a few hours to several days, depending on the sun’s intensity and the desired outcome.
Then, the print undergoes a fixing stage in a chemical solution to stabilize the image and prevent further transformation.
That said, you can only imagine the creative possibilities of using such a technique today.
15. Gum Bichromate Printing

Credit: Doug Kukurudza, CC-BY-NC-2.0-DEED, via Flickr
This fascinating alternative photography process is traditionally multi-layered. Yet, you can achieve great results in just a single go.
In this method, you should combine photosensitive salt (potassium or ammonium dichromate) with a mixture of gum arabic and watercolor pigments.
Then, you need to coat the paper or desired surface with this emulsion before placing the negative in contact with it.
After UV exposure, the light-sensitive dichromated-gum hardens in accordance with the amount of light received.
Lastly, all you need to do is wash the image with plain water to dissolve any unexposed gum and reveal the photo.
What makes gum bichromate printing a fantastic process is the ability to layer multiple colors of pigments, allowing for incredible creative control.
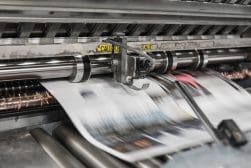
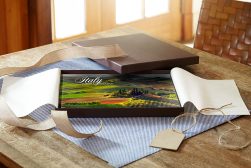
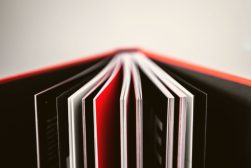
16. Photogravure
A photogravure is one of the most intricate and sophisticated image production processes. It’s also quite expensive.
However, it’s one of the best and most convenient methods to mass-produce photographs without needing a darkroom. This is especially great for printing magazines and books.
Such a meticulous process combines photography and intaglio engraving, beginning by creating an etching from a photograph.
At first, photographers coat a plate of zinc or copper with a light-sensitive gelatin tissue and expose it to the photographic positive.
Then, the plate undergoes a series of chemical baths, resulting in an image with varying depths etched into the surface.
After that, they apply ink to the plate and wipe it clean from the surface, leaving ink only inside the etched grooves.
As a result, when pressing damp paper onto the plate, the ink transfers to it and creates a highly detailed print.
17. Carbon Printing
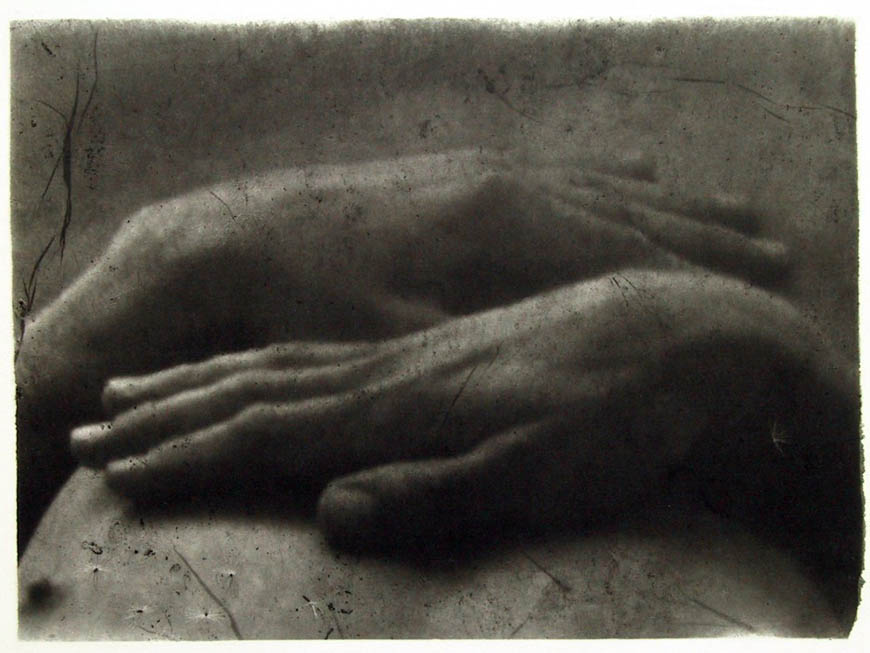
Credit: Michal Macků, CC BY-SA 3.0, via Wikimedia Commons
This alternative photographic process is famous for its tonal richness and resistance to deterioration.
It begins by coating a temporary support sheet with a layer of carbon-based ink mixed with gelatin and potassium dichromate.
Exposing this layer to direct UV light under a negative causes the gelatin of the exposed areas to harden.
Then, the unhardened gelatin gets dissolved when treated with warm water, leaving behind a pigmented image.
Lastly, all you need to do is transfer the image onto a sheet of paper (a final support surface), creating a highly detailed image.
18. Polaroid Transfer
Credit: Justin Mclean, CC-BY-NC-2.0-DEED, via Flickr
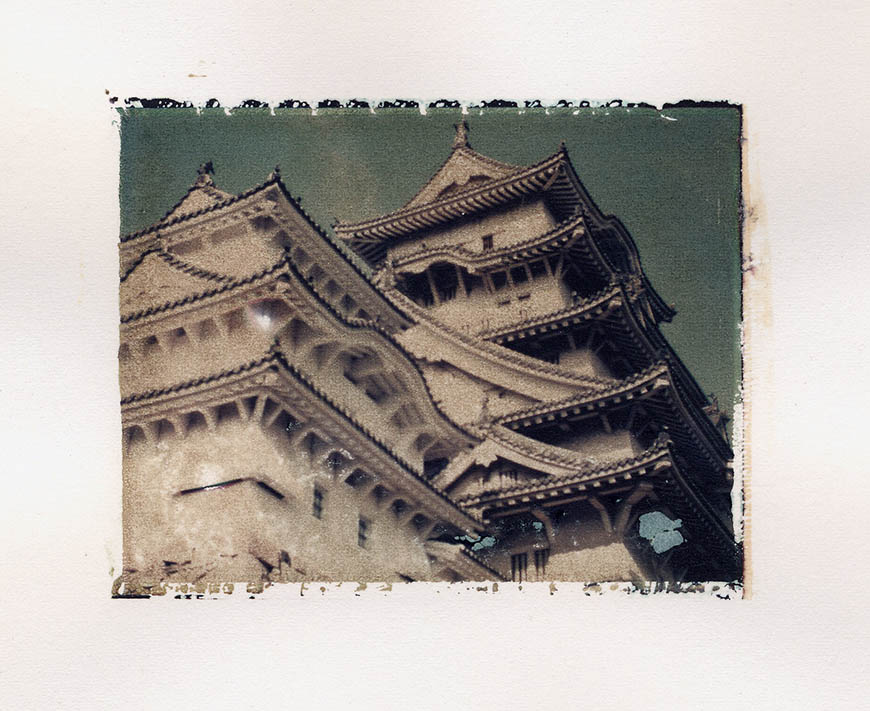
Polaroid transfer is a creative technique that combines the spontaneity of instant photography with the artistry of handcrafts.
Simply put, it’s transferring a polaroid image onto another surface, such as paper, wood fabric, etc.
That said, the history of when and how it started remains unknown. Some say it was discovered by accident, and it seems plausible.
Basically, the process begins by taking an ordinary Polaroid photo using instant film. While the print is still wet, peel it prematurely and press the emulsion side onto the chosen surface.
Apply pressure and wait for a brief period before peeling away the print, leaving behind a unique image.
19. Dye Transfer Printing
This specific printing process was widely used back in the mid-19th century but has become less common as time went by due to its time-consuming nature.
However, it remains highly valued among photography enthusiasts for its spectacular tonal range.
Principally, dye transfer printing involves creating color prints using three layers of dye (cyan, magenta, and yellow) that get hand-applied sequentially.
During the process, you develop each layer and transfer it onto the final print paper.
Such a technique requires sharp skill for aligning each dye layer. That’s why it’s a technique rarely tackled by amateurs.
All in all, dye transfer printing allows for precise color control, resulting in vibrant high-quality images.
20. Photomontage and Collage

John McHale, Photomontage Airlines, 1959. Credit: Juliette B., CC BY-SA 4.0, via Wikimedia Commons
Photomontage and collage are two artistic techniques of combining multiple photographic or visual elements to create a composition.
While photomontage involves layering and juxtaposing images to convey conceptual ideas, collage is a bit different.
In photo collage, an artist collects various materials (including photographs), cuts them, and glues them into a single artwork.
In the past, artists like Hannah Höch and John Heartfield pioneered the art of photomontage in the 20th century. They used it for both artistic and political expression.
On the other hand, Pablo Picasso and Kurt Schwitters explored the art of collage for the creative opportunities it offers.
21. Chlorophyll Printing
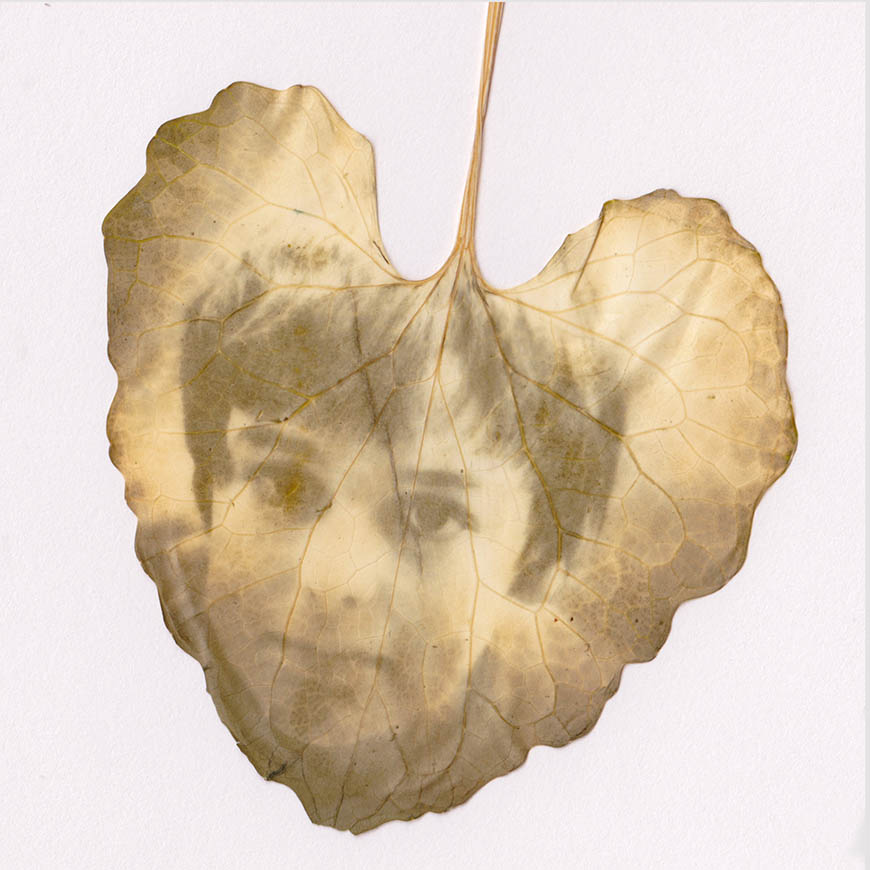
Credit: Tom Hart, CC-BY-NC-2.0-DEED, via Flickr
This is an environmentally friendly alternative photography technique that produces marvelous abstract images.
The idea behind chlorophyll printing is to utilize the natural pigments in a plant’s chlorophyll to create images.
All you need to do is place fresh leaves or other plant parts between photosensitive paper and expose them to sunlight (photosensitive fabric works, too).
When the chlorophyll in the plants interacts with the photosensitive chemicals, it leaves behind ghostly green and brown impressions.
Such a process allows you to incorporate botanical elements into your photographic creations, which result in amazing organic compositions.
22. Anthotypes
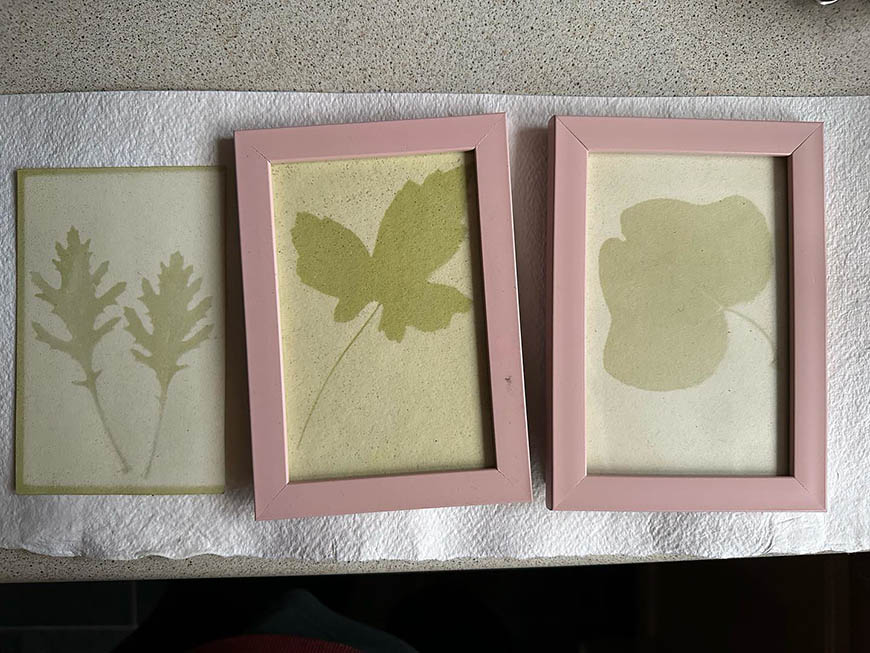
Credit: RJP, CC-BY-NC-2.0-DEED, via Flickr
Celebrated for their eco-friendly and non-toxic nature, anthotypes are a captivating form of alternative photography.
What’s great about this process is that you don’t need special materials to experiment with it. It’s all inside your kitchen.
Typically, the anthotype method harnesses the pigments found in plants, fruit peels, and flower petals to craft photographic images.
To try such a process, you need to extract the natural pigments of your chosen source and create a plant-based emulsion.
Then, you continue as usual with any other photo printing technique, including coating with emulsion and UV exposure.
Over time, sunlight causes the pigments to fade or change color, resulting in admirable hues.
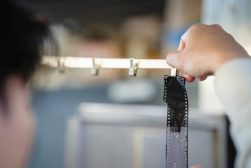
23. Caffenol Processing

Credit: Contempiafilm, CC BY-SA 4.0, via Wikimedia Commons
Take the HARD Photography Quiz! 🤯
Now it's time to really test your photography knowledge!
(99% of people can't get all the questions right...)

Caffenol processing is yet another unconventional but environmentally friendly method for developing black-and-white film.
It was discovered at a technical photographic chemical class taught at the Rochester Institute of Technology back in the mid-1990s.
It uses a mixture of instant coffee, sodium carbonate, and ascorbic acid (vitamin C) as the primary developing agent.
Such a combination makes the perfect DIY approach to a low-cost alternative to traditional photographic chemicals.
Principally, the process involves preparing a Caffenol solution, developing the prints, and washing them as done usually.
Depending on the coffee brand and preparation, Caffenol processing produces marvelous results with a vintage touch.
24. Chemigrams
Discovered by the Belgian artist Pierre Cordier, chemigrams is a form of photographic art that doesn’t require a camera.
Experimental artists create them by applying chemicals, such as developer, fixer, and stop bath, onto the photographic paper directly.
Whether exposed to light afterward or immersed in darkroom processes, Chemigrams bring out your inner child and stimulate your imagination.
Conveniently, you can use this process to create unique and abstract images by combining different kinds of chemicals.
This results in several interactions between those chemicals and the paper’s surface.
Consequently, you start noticing the appearance of intricate patterns, textures, and color variations.
25. Gumoil Printing
Gumoil printing combines gum arabic with oil pigments. It’s another alternative photographic process that uses gum arabic.
However, it’s a bit different from gum bichromate printing.
During the process, you expose light-sensitive emulsion to a negative, then hand-brush specific areas with a solvent to dissolve the oil-based pigments.
Such a photographic process allows you to produce outstanding handcrafted images with captivating details.

Check out these 8 essential tools to help you succeed as a professional photographer.
Includes limited-time discounts.


Jeff Collier is an experienced film photographer who enjoys experimenting with modern digital photography equipment, software and apps. He’s also an ex-world champion triathlete and avid cyclist, clocking hundreds of km each week in the beautiful Tweed Valley of northern NSW, Australia.
WELCOME TO SHOTKIT
Enter your email to be sent
today's Welcome Gift:
19 Photography Tools
🔥 Popular NOW:


Shotkit may earn a commission on affiliate links. Learn more.