


How to Film a Video Podcast (Beginner’s Tutorial)
Master the art of video podcasting with our step-by-step guide, helping you transform audio conversations into engaging visual experiences.
If you want to start filming and recording your own video podcast, this guide will give you the tips and tricks to get a head start.
In recent years, podcasts have gained immense popularity.
With YouTubers and Influencers starting their own podcasts, the appeal and demand have increased dramatically.
People might listen to a podcast to learn more about a topic, keep up with current events or simply because they want a laugh.
While traditional podcasts are audio-only, there’s a growing trend of filming podcasts to create engaging video content.
As a graduate of Broadcast Journalism, I had the opportunity to gain hands-on experience in creating news-based podcasts during my degree.
My passion for journalism led me to explore the world of podcasting as a powerful tool for news broadcasting.
Drawing from my experience in recording and producing both audio and video podcasts, I’ve written this article to share my advice on creating a successful video podcast.
With my tips, you’ll be able to film a video podcast that captivates and engages audiences and attracts online interaction.
Table of Contents
What Is A Video Podcast?
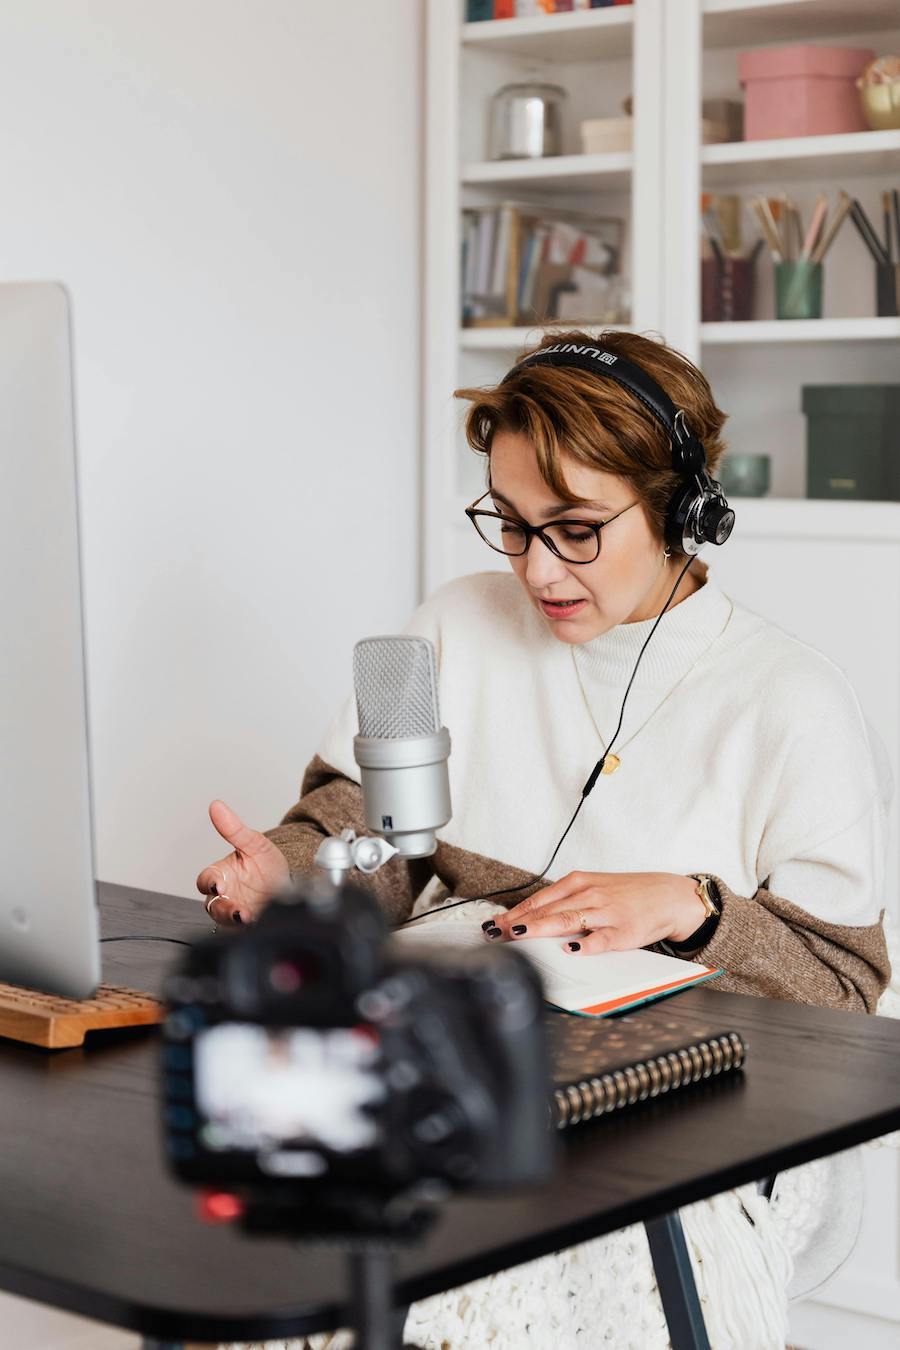
Video Podcast photo
Video podcasts are a type of podcast that includes video of the podcast recording alongside the audio.
It’s a multimedia format that combines the traditional elements of podcasting with visual elements.
Video podcasts are typically distributed through platforms such as YouTube, Vimeo, Spotify, and, more recently, social media platforms like TikTok.
You may also want to check out these guides for some inspiration on filming your first video podcast:
Benefits of Filming A Podcast
Filming your podcast offers many benefits which can enhance your podcasting success:
Visually Engaging
A video podcast is arguably more attention-grabbing as viewers can see the hosts, their guests and any accompanying visuals.
This visual element improves the overall experience and can be particularly useful for content that benefits from a visual component such as educational podcasts.
Wider Audience
By producing a video podcast you cater to a wider range of viewers.
Some people prefer watching podcasts while others prefer listening, and by catering to both groups you inevitably get more engagement.
Additionally, by including video, you can upload your podcasts to more platforms and in turn, get more views and interaction.
Interactive Element
Video podcasts can incorporate live chats, comments and such, enabling you to engage with your audience in real time and build a stronger community with your viewers.
Visual Learning and Demonstrations
If your podcast is educational or tutorial-based, you will benefit from filming it as a video podcast, as you can use visual aids and demonstrate various things to your audience.
Different Video Podcast Styles
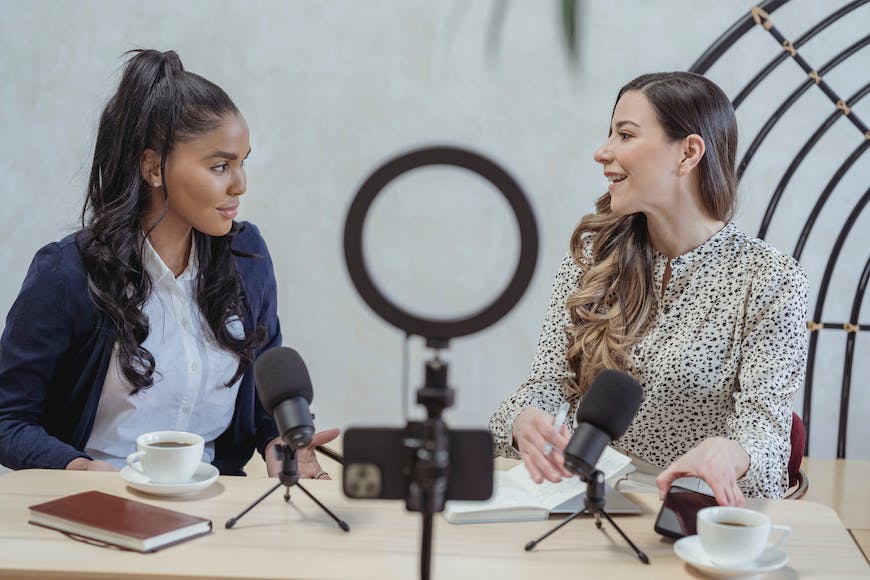
Video podcast interview
Video podcasts come in various styles to cater to different audiences and content types.
Some common video podcast styles include:
Conversational
- Like traditional talk shows, hosts invite guests to interview or discuss a topic. ie Saving Grace
Solo Host
- A podcast where the host speaks directly to the listener, creating more intimate and relatable content. ie Inner Monologue with Olivia Neil
Educational
- Many podcasts are created to provide an educational element. Ranging from history to finance, there are hundreds of educational video podcasts. ie The Diary of a CEO with Steven Bartlett
News and Current Events
- A podcast to stay in the loop of what’s happening worldwide and inform yourself of current events. Ie Today in Focus The Guardian
These are just a few examples of video podcast styles, and often podcasts combine elements from multiple styles to create a unique format that suits their content and audience.
The key is to choose a style that aligns with your content goals and appeals to your target audience.
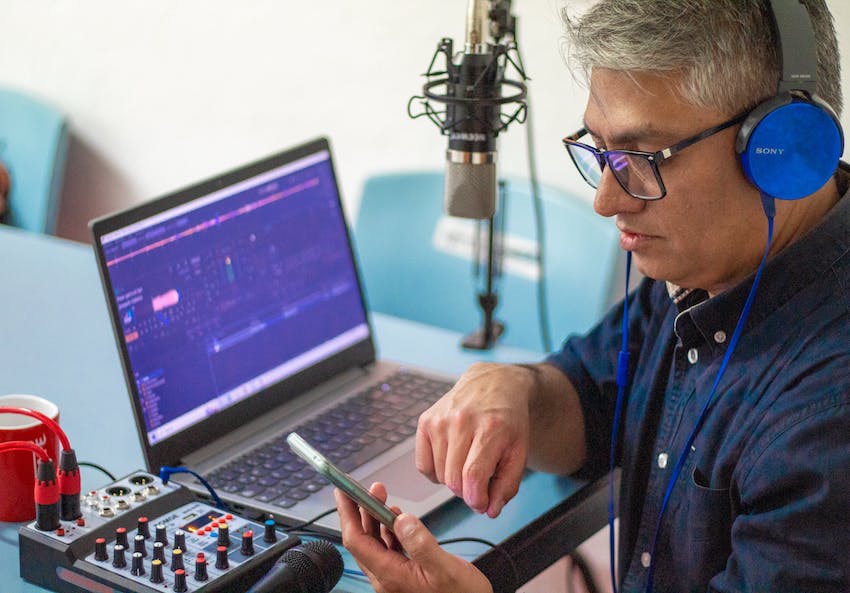
What Equipment Do I Need to Film a Podcast?
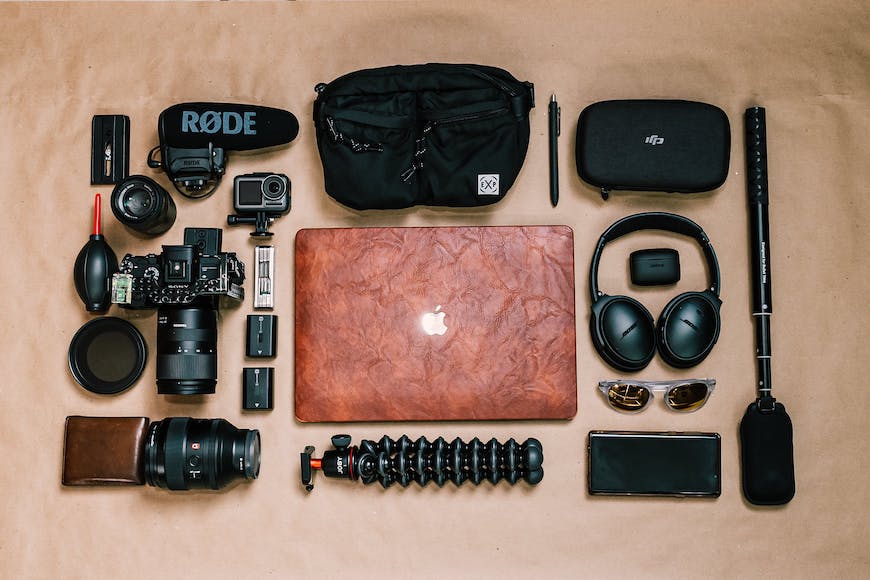
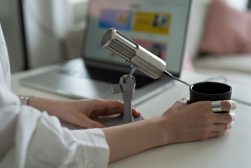
Video Podcast Equipment
You’ll need specific equipment to film a podcast to ensure good video and audio quality.
Here is an essential video podcast equipment checklist:
1. Camera
Choose a camera for video podcasting that’s capable of shooting high-quality video.
This can mean any good quality cameras that are within your budget… You don’t need to invest much for video podcasting.
A great tip is to use different cameras to get different angles and more video recordings, such as a wide angle of both speakers and close-ups of individuals.
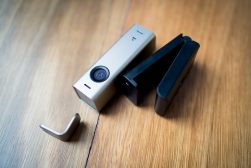
2. Microphones
For your video podcasts, high-quality audio is crucial.
You can purchase any external mics from a variety of websites.
During my uni days, I used a simple yet effective clip-on Lavalier mic from Amazon but you can also get more advanced XLR connectors.
3. Headphones
A top tip when recording your podcast is to monitor audio quality during recording and editing.
It would help to consider getting closed-back headphones to help with catching issues in real time.
4. Lighting
Good lighting is essential for video quality.
I would recommend investing in softboxes or ring lights to ensure even and well-lit scenes.
If not, natural light can also work if properly diffused.
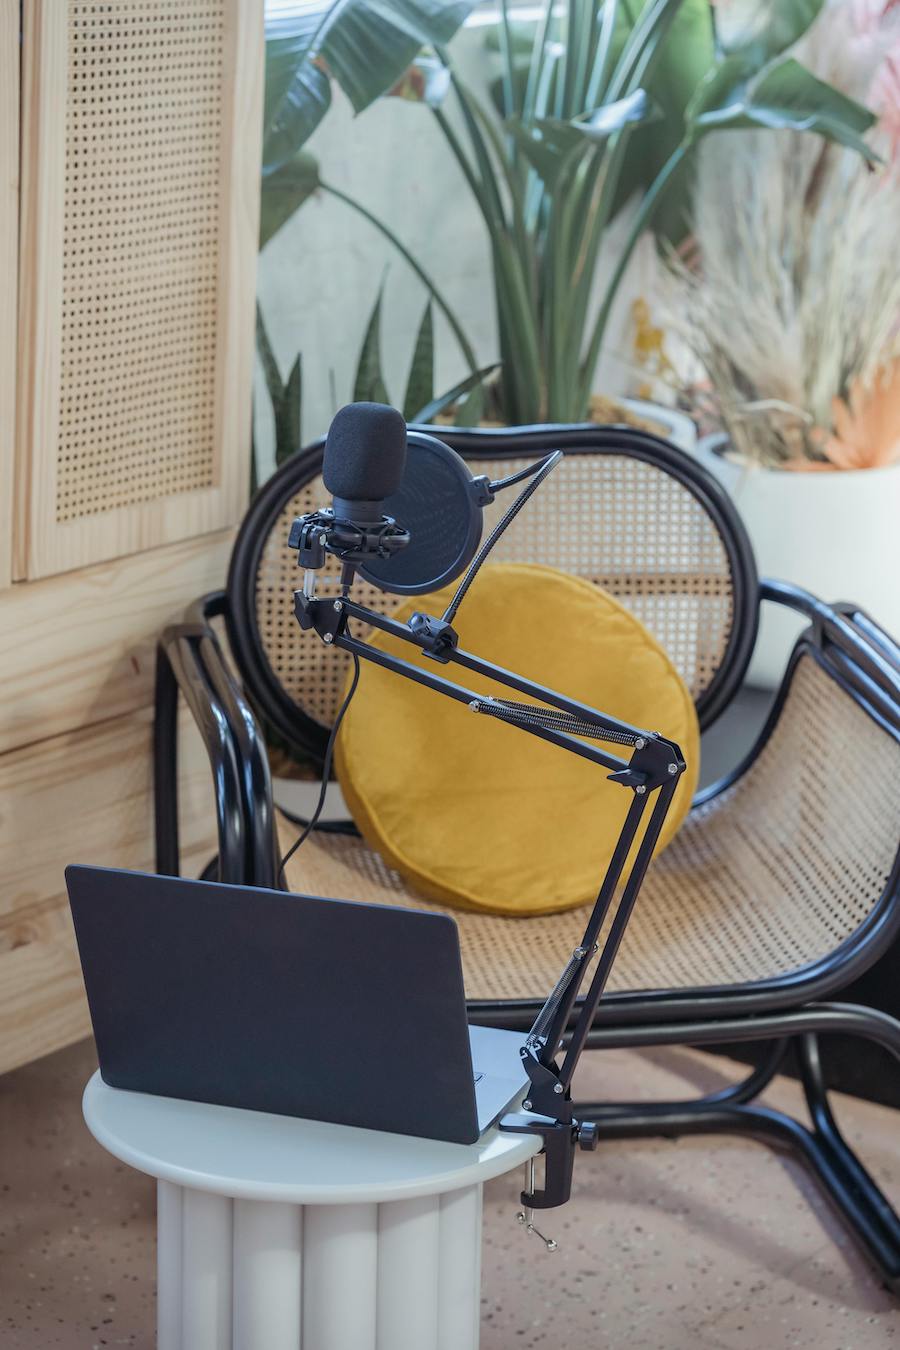
5. Tripods or Mounts
A steady camera is crucial for your video podcast.
Keep your camera steady with a tripod or mount to ensure stable footage and prevent shakiness.
6. Backdrop
However you decide to film your podcast, a good backdrop is important.
Choose an appropriate one that aligns with your podcast’s theme, and ensure it’s clean and visually appealing.
Some podcasters choose a laid-back living room setting for a more intimate podcast, whereas others prefer a more serious table-top discussion.
7. Video Editing Software:
When editing your final project, use video editing software such as Adobe Premier Pro, Final Cut Pro or DaVinci Resolve.
Investing in high-quality equipment within your budget is important, as the quality of your podcast’s audio and video can greatly improve its interaction.
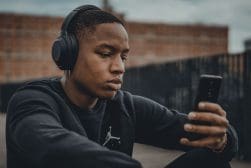
What Equipment Do I Need to Film a Podcast on a Phone?
Choosing to film a podcast on your phone can be a convenient and cost-effective option.
You don’t need the latest expensive camera to produce a video podcast.
Here are some things you may need when filming on a mobile:
1. Smartphone
Use a smartphone with a good camera and video capabilities.
iPhones and high-end Androids are popular choices for their great video cameras.
2. Microphone
If you choose to record on your phone, you will need a microphone for improved audio quality.
You can get inexpensive external microphones that can be connected to your smartphone that are great quality and easy to use.
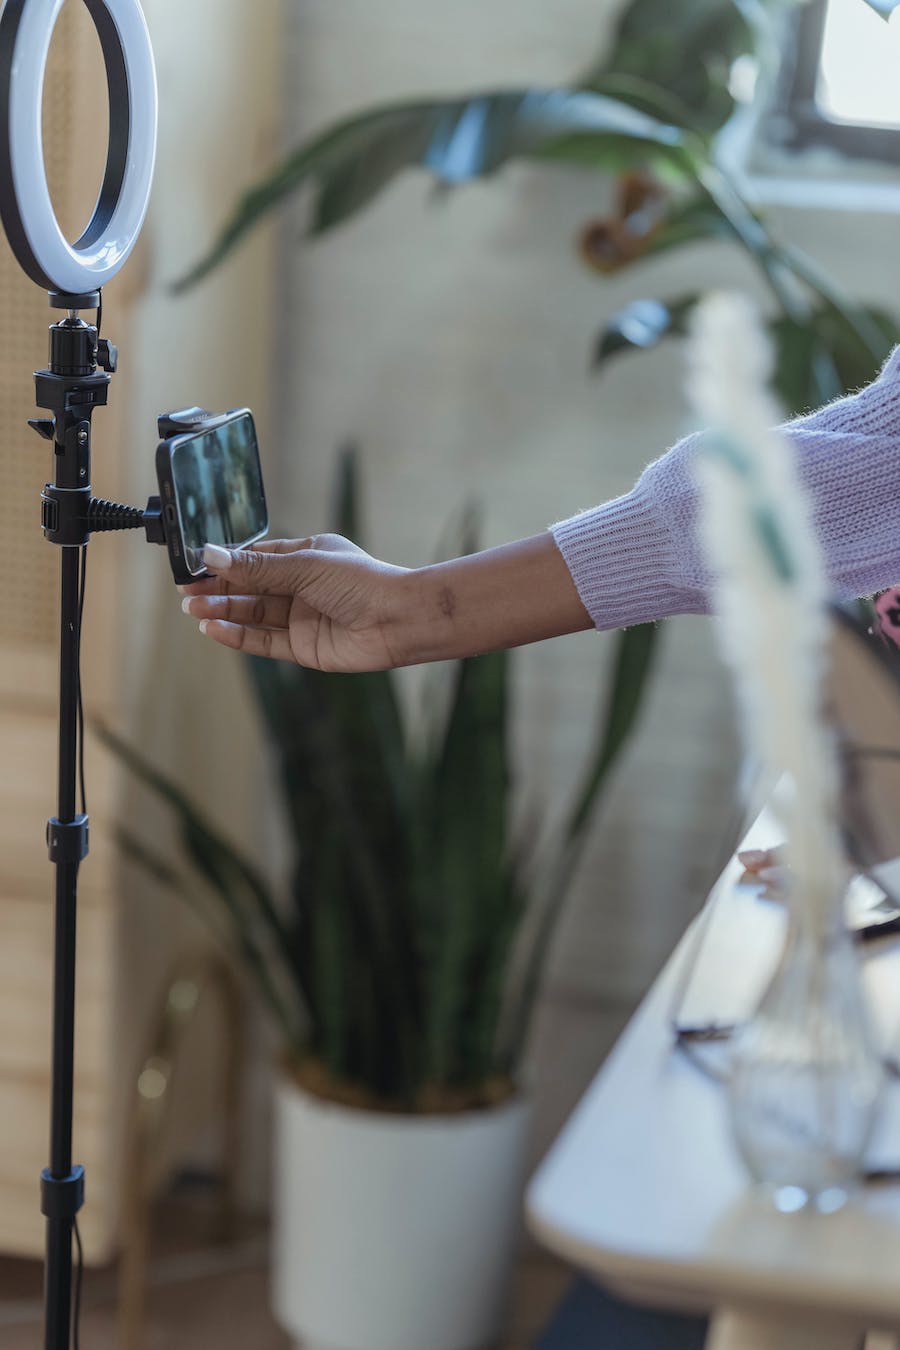
3. Phone Mount
To film a professional standard video podcast on your phone, you need to keep your camera steady.
Mount your phone to a tripod for a good setup.
4. Video Editing App
Download an editing app to create smooth and professional-looking podcasts.
Popular options are iMovie, Adobe Premier Rush or CapCut.
5. External Storage
Ensure you have sufficient storage for your podcast filming, you can use external storage options such as DropBox or cloud storage to save your video files.
What Software Do I Need to Film a Podcast?
Two of the most popular software for video podcasters include Riverside and OBS:
Riverside.fm
Riverside.fm is a platform for recording high-quality remote podcasts and interviews.
It’s known for its superior audio and video quality, ease of use, and separate audio track recording for each participant.
Many find it impressive for its professional-sounding content compared to traditional video conferencing tools.
Its key features include:
- High-quality audio and video
- Local Track Recording
- Automatic Backups
- Easy-to-use interface
- Cloud-based storage
- Stable connection
- Live streaming option
Riverside.fm is built into Spotify’s podcast recording site, making it even easier to use.
Open Broadcaster Software (OBS)
OPS is a free and open-source software for video recording and live streaming.
It’s widely used by content creators, including video podcasters for several reasons:
- Free and Open Source
- Versatile
- Multi-platform support
- Real-Time Scene Switching
Before You Start Filming Your Podcast
Preparing to film your podcast is crucial to ensure a smooth recording process and a high-quality result.
Here are some things to bear in mind before starting to film your podcast:
1. Podcast Concept
You should decide on your podcast’s purpose, niche, and format.
What topics will you cover? Who is your target audience? Having a well-defined concept is essential.
2. Planning Your Episode Content
You don’t need a written script but it is helpful to outline the main points that you will cover and have an idea of how you want the flow to go.
This will help keep you on track when recording and keep the podcast flow to avoid any awkward silence or waffling.
3. Preparing Your Recording Location
Choosing a quiet and well-lit location makes all the difference for recording.
Ensure the space is free from distraction and any background noise.
You may need to add acoustic treatment to improve sound quality. Research the different types you could use using this article.
4. Setting up Equipment
Test your camera, microphones, lighting and any other equipment.
Make sure everything is functioning properly and set up in your chosen location.
5. Checking Camera Settings
Adjust your camera settings, such as resolution, frame rate and exposure.
Ensure the camera is in focus and properly framed.
6. Testing Microphones
Test your microphones for clear audio.
Check audio levels, and make sure there are no issues like background noise and interference.
7. Lighting Setup
Position your lighting equipment to achieve well-balanced and even lighting.
Keep an eye out for any unwanted shadows and adjust accordingly.
8. Backdrop
Make sure that your backdrop aligns with your podcast’s theme and style.
It should look professional and free from distractions.
Remember comfort is key too!
9. Practice with Your Recording Software
Familiarise yourself with the video and audio recording software.
Test to ensure they record properly and save files in the right video file format.
Ensure that you have enough storage; also, using a backup SD card or similar is a good idea.
10. Guest Coordination
If you have guest speakers or co-hosts, ensure they know the recording schedule and content.
Discuss the plan ahead of time with them so that they are prepared.
By preparing before filming your podcast, you’ll increase the chances of a successful recording and avoid any unwanted hiccups.
How Do I Set Up the Camera and Microphone for Filming a Podcast?
Setting up your camera and microphone properly is crucial for achieving high-quality video and audio in your podcast.
Here’s a step-by-step guide:
1. Camera Setup
Position the camera at eye level with the hosts and guests.
This creates a natural and engaging perspective for the audience and creates a more conversational, laidback, entertaining podcast to both listen to and watch.
Ensure the camera is stable by using a secure mounting system.
Framing
However you want to place the subjects in the frame is up to you.
Most people like to have the hosts and guests centre, whereas some place them to the side.
Play around with the framing and decide which you think creates a more visually appealing composition that works for you.
Ensure there’s enough headroom and space around the subjects within the frame.
Focus
Set the focus of the camera to ensure a clear and sharp image.
Exposure, Resolution and Frame Rate:
Adjust exposure settings so that the image is well-lit but not over-exposed.
Choose the appropriate resolution and frame rate for your recording.
Common settings include 1080p resolution at 24 or 30 frames per second.
2. Microphone Setup
Placement
Position the mics close to the speakers’ mouths to ensure clear and focused audio.
Use pop filters to minimize plosive sounds that can affect audio quality.
Type of Microphone
Choose microphones based on your recording environment.
Dynamic mics are better for noisy environments whereas condenser mics are ideal for controlled spaces.
Audio Levels
Test and adjust mic audio levels to ensure they’re not too low or high.
Aim for clear and audible audio without distortion.
Room Acoustics and Test Recording
Consider the acoustics of your space.
Use headphones to monitor the audio and conduct a recording test to check both video and audio quality.
This allows you to identify and address any issues before the actual recording.
By carefully setting up your camera and microphone following these guidelines, you’ll enhance the overall quality of your video podcast.
Regular testing and adjustments will help you fine-tune your setup for optimal results.
How to Film a Podcast For YouTube
Filming a podcast for YouTube involves a combination of visual and audio considerations to create engaging content.
1. Define Your YouTube Channel and Content Concept
Clearly define the purpose and niche of your channel.
Know your target audience and tailor your podcast content accordingly.
2. Thumbnail and Title
Create an eye-catching thumbnail and a compelling title for your YouTube video.
This is important in attracting views.
3. Video Description and Tags
Write a detailed video description with relevant keywords.
Add tags to improve searchability and get more interaction.
4. Upload and Schedule
Upload your video to YouTube and schedule it for release.
Keeping to a consistent schedule can help with the success of your podcast episodes.
5. Engage with Your Audience
Respond to comments and engage with your audience.
Building a community around your podcast can enhance its reach and impact.
6. Promote on Social Media
Share snippets, and highlights to promote your podcast on social media to drive traffic to your YouTube channel.
These steps will help you be well on your way to filming engaging podcast content on YouTube.
Consistency, quality and interaction with your audience are key elements for building a successful YouTube podcast channel.
How to Film a Podcast Remotely using Zoom
1. Schedule a Zoom meeting
Set up a meeting for your remote interviews with the participants. Ensure everyone has the Zoom app installed.
2. Adjust settings
Go to Zoom settings and make sure video and audio are enabled for all participants.
Set the video layout to “Speaker View” for a focused recording.
3. Check equipment
Use good-quality microphones and headphones for clear audio.
Position your camera at eye level for a professional look.
4. Background
Choose a quiet location with minimal background noise.
Consider a plain background or one with minimal distractions.
5. Lighting
Position yourself in well-lit surroundings.
Natural light is ideal, but if not possible, use soft diffused artificial lighting.
6. Test audio and video
Before recording do a quick test to ensure everyone’s audio and video are working properly.
7. Record the podcast
Zoom has a feature that allows you to both record video and audio.
Consider using backup recording software such as Screenrecord.
8. Engage visually
Encourage participants to use body language and facial expressions to enhance the visual aspect of the podcast.
You can use this same guide to record your podcast remotely using any video conferencing software such as Microsoft Teams and Skype.
Remember a stable internet connection is crucial for a smooth recording.
After recording, you can edit the video and audio as needed using post-production software.
How to Film a Podcast on Your Phone
When creating a video podcast on your phone, follow these steps:
1. Setup
Once you’ve chosen a quiet location and a backdrop, set up your phone on a steady tripod and place it on a stable surface.
Position your phone horizontally and record in landscape mode to capture a wider view.
2. Check lighting and frame your shot
Make sure you and the guests are well-lit, with natural or artificial light.
Then, position your phone at eye level and ensure the speakers are positioned at the centre of the shot.
3. Mic
Plug in your mic, or connect one to your phone if using Bluetooth.
4. Apps
Choose a podcasting app such as Anchor, to record and edit your podcast on your phone.
5. Edit
Edit podcast, trim, cut and enhance it.
Remember to test your setup before starting the actual recording to address any technical issues.
Additionally, ensure you have enough space on your phone to store your podcast recordings.
How to Film a Podcast on Spotify
You can seamlessly record your podcast using Riverside.fm as it’s integrated into Spotify’s podcast recording site, Spotify for Podcasters.
Once you have created a creator’s account on Spotify for Podcasters, you can start recording immediately.
After you have finished recording your podcast, upload the file to Spotify for Podcasters.
Spotify accepts .mov and .mp4 and recommends a 16×9 aspect ratio.
If you used Riverside to record your podcast, it will have automatically adjusted to Spotify’s desired format for you.
Once uploaded, your first episode will have been published and live directly in your Spotify catalog.
Your listeners can now switch between audio only or alongside video when watching your podcast on Spotify.
How to Edit Your Video Podcast

Editing your podcast is crucial to creating a professional and smooth video podcast that enhances the finished product and increases interaction.
Below are some tips to keep in mind when editing your podcast:
1. Choose editing software
Select video editing software that suits your needs and skill level; as I mentioned before, Adobe Premier Pro, Final Cut Pro and CapCut are some popular options.
2. Sync up audio and video
Ensure your audio and video sync as this is a common mistake that video podcasters make.
3. Coverage
A great tool when editing is switching between different angles.
If you use multiple cameras during filming it creates a more dynamic finished video when you use the different footage.
For example, wide angles, close-ups and switches between speakers.
This is great for keeping the viewers’ attention as it makes them feel like they’re a part of the conversation.
4. Transitions
You can use transitions between clips to create a smoother cut.
Perhaps you have some awkward pauses or dead air between topic discussions, you can insert transitions to cover up a cut in your video.
5. Media
You may want to overlay media in your video podcast if necessary, for example, if you’re talking about a particular photo or video.
You can embed this media into your podcast and your viewer can interact better with your discussion.
Overlaying media is another helpful tool if you need to make a cut into your video and want to disguise it.
6. Colour Correction and Grading
Adjust the colour balance and contrast to create a visually appealing look.
Correct any colour inconsistencies to achieve a professional finish.
7. Overlay Music or Sound Effects
Consider adding music or sound effects to your podcast to enhance the viewers’ overall listening and watching experience.
Consider your podcast’s niche and make sure the music fits the theme.
This can be used for story-telling or add comical value.
8. Improve Audio
Enhance audio quality by adjusting volume levels, removing background noise, and equalizing sound levels.
Remember to save your project file in case you need to make future edits and make sure you export it in the correct format for the platform that you’re uploading on.
What To Do When You’re Done Editing Your Video Podcast
After finishing the editing process for your video podcast, you can take steps to increase interaction and attention.
Create Your Cover Art
Using a podcast cover is crucial as it serves as the visual representation of your podcast.
It’s often the first thing listeners will see, so a well-designed cover creates a positive first impression and attracts more clicks and listens.
It’s also a key element of your podcast’s branding and helps to establish a visual identity that listeners can recognize.
When creating your cover art, here are some tips to make it visually appealing:
1. High- Resolution
Ensure that your images are high-resolution for a professional look.
2. Keep it simple yet distinctive
Bright colours are eye-catching and effective but avoid clutter and excessive detail.
3. Include relevant elements
Incorporate elements that represent the theme of your podcast and what it’s all about.
4. Use readable text
Choose a font that is readable to recognize your podcast brand.
5. Check platform guidelines
Be aware of the specific requirements for podcasts covered on different platforms.
Create the Podcast Transcription and Description
The next step is to craft a descriptive and engaging video description.
Include relevant keywords, a summary of the podcast, and any links or references mentioned in the episode.
Remember, your listeners will most likely read this first to determine whether your podcast is for them, so make it attention-grabbing and enticing!
Including a transcription makes your content accessible to a wider audience, and also makes your podcast more discoverable through search engines, potentially increasing your podcast’s SEO.
If you decide to include a transcript, download it in a format compatible with the platform.
Export Your Show to a Podcast Hosting Service
Exporting your podcast to a hosting service involves several steps.
Here’s a general guide:
-
Choose a Podcast Hosting Platform:
Select a podcast hosting service.
There are many different ones to use from, the most popular being; YouTube, Vimeo, Spotify and Podbean.
YouTube is arguably the best option for a variety of reasons ranging from its huge user base to the monetizing feature.
More recently Spotify has become an increasingly popular platform for hosting a video podcast due to its new video feature which allows an option for a visual and audio podcast experience.
-
Create an Account:
Sign up for an account on the chosen hosting platform if you don’t have one already.
-
Prepare Your Podcast Files:
Ensure your podcast files are properly formatted and meet the hosting platform’s requirements.
YouTube and Spotify commonly require .MP4 and .Mov files.
-
Create and Upload:
Set up your podcast on the hosting platform, which typically involves having a title, writing a description and uploading some cover art.
Use the hosting platform’s interface to upload your podcast’s episodes.
You may need a title and short descriptions for individual episodes.
Adjust settings such as episode order, release date and visibility.
Most platforms have an episode-scheduling feature.
Distribute Your Podcast to Different Directories
IMAGE (optional)
Some hosting platforms automatically submit your podcast to popular directories like Apple Podcasts, Spotify and Google Podcasts.
If not, you may need to submit your podcast to different directories manually.
A podcast directory is a listening app, and it’s a great way to get your podcast more interaction and a bigger audience.
In order to distribute your podcast, you will need to submit your show’s RSS link to different directories.
Riverside has created an easy-to-follow guide on how to do this.
Promote Your Show
IMAGE (optional)
Promoting your video podcast is an important step for expanding your audience and increasing visibility.
Utilize social media, your podcast website, collaborations, and other channels to promote your content and attract more viewers effectively.
You could promote your podcast by sharing teaser clips on social media, creating visually appealing thumbnails, collaborating with other creators, using relevant hashtags and trends and engaging with your audience through comments.
How to Film A Podcast: Tips and Tricks
Filming a podcast can add a dynamic element to your content.
Some tips and tricks to help you create a visually engaging podcast include:
Tip 1: Utilise B-Roll Footage
Integrate B-Roll footage to break up footage of the speaker and add interest to your podcast video.
This can include clips related to your discussion, relevant visuals or simply switching angles to add dynamic movement to the video.
Tip 2: Consistency Across Platforms
Maintain consistent branding across your podcast and hosting platforms.
Use the same podcast title, description and cover art to enhance recognition.
FAQs
The best place to film a podcast is a quiet, well-lit environment with minimal background distractions.
Choose a location that aligns with your podcast’s visual aesthetics, ensuring a clean and visually appealing backdrop.
Consistency in branding and attention to lighting and sound quality contribute to a professional and engaging on-screen presence.
Choose a camera that fits your budget and provides good video quality.
For a beginner, you can start with a good smartphone camera, entry-level DSLRs or mirrorless cameras.
Focus on factors like resolution, low-light performance, and the ability to connect external microphones for improved audio quality.
Do I need a good camera to film a podcast?
While a good camera can enhance video quality, you don’t necessarily need an expensive one to start filming a podcast.
If you currently own a smartphone, you may already be off to a good start.
Many smartphones offer decent camera capabilities and you can easily purchase external microphones that can plug into your phone or connect via Bluetooth.
There are various different platforms to host your video podcast, all of which have advantages and disadvantages.
When you choose one, consider which suits your podcast’s content more and what you want people to take from your podcast.
I recommend reading this article on the pros and cons of video podcast platforms:
How do you record people in two different locations?
Use video conferencing platforms like Zoom and Teams.
Ensure participants have good lighting and video and audio setups and internet connection.
How many cameras do you need to film a podcast?
You can film a podcast with just one camera, strategically positioned to capture the entire podcast setup, but multiple cameras can give you dynamic shots and angles.
Is a Sony A6000 good for filming podcasts?
Yes, this camera is decent for filming podcasts as it offers good video quality, auto-focus capabilities, and it’s great for portable use.
How do you make a podcast sound great?
A good-quality microphone can make all the difference in a podcast’s audio levels.
Also, ensure you are in a quiet recording environment and use audio editing software such as Adobe Audition for post-production.
What is B-Roll Recording?
B-Roll recording involves capturing secondary footage to compliment the main content, often used to enhance storytelling or provide visual interest.
Final Words
In conclusion, filming a podcast is a great alternative to audio podcasts, adding a visual element to your content and reaching a broader audience.
With the right equipment, planning, and techniques, you can create engaging and entertaining video podcasts that captivate your viewers and listeners alike.

Check out these 8 essential tools to help you succeed as a professional photographer.
Includes limited-time discounts.
 33 Best Filmmaking Podcasts in 2023 (Organised by Type)
 Best Podcast Camera in 2023 + Video Podcasting Setup Tips
 What’s the Best Way to Buy Adobe Audition in 2023?
 How to Remove Audio from Video (Windows, Mac & Mobile)
 Best External Microphones for Zoom Meetings & Calls in 2023
WELCOME TO SHOTKIT
Enter your email to be sent
today's Welcome Gift:
19 Photography Tools
🔥 Popular NOW:


Shotkit may earn a commission on affiliate links. Learn more.