


How to Get Grid Lines on iPhone Camera
Learn how to easily enable grid lines on your iPhone camera for better photo composition by adjusting a few settings, enhancing your photography instantly.
iPhone Photography | Learn | By Jeff Collier
This guide on getting grid lines on an iPhone camera will help you set up your shot and enjoy the iPhone’s maximum photo-capturing capabilities.
iPhone photography is a lot of fun, and having such a powerful camera in your pocket at all times is incredibly liberating.

The fastest, simplest and most fun way to improve your smartphone photography skills in 2023.
Use link to save 80%
Using horizontal and vertical lines is one of those mobile photography tips that can take your photos to the next level.
They help you maintain a balanced composition, and the gridlines will help you find your photography style.
Keep reading this simple guide to learn about this iPhone feature and whether enabling the grid option is right for you.
How to turn on the grid lines on your iPhone camera app
- Open your iPhone’s settings and navigate to the camera settings.
- Locate the “Composition” section.
- Find and toggle on the “Grid” option.
Table of Contents
The grid option in iPhone cameras is a fantastic tool, whether you’re using them in portrait mode, photos, or videos.
The faint grid lines are 3×3 squares aligned over your camera screen.
You can toggle them on or off whenever you like. Yet, they’re a practical photography tool that makes snapping pictures much easier.
Remember that the built-in grid feature only works on the iPhone’s camera app.
Take the HARD Photography Quiz! 🤯
Now it's time to really test your photography knowledge!
(99% of people can't get all the questions right...)

However, the lines won’t appear in third-party cameras and applications like Instagram and TikTok.
How to Use Grid Lines on iPhone Camera
The horizontal and vertical grid lines aren’t just decorative.
While you can take amazing photos without them, they can be indispensable once you learn the correct way to utilize them.
Here are some benefits of this innovative iPhone camera feature:
Rule of Thirds with iPhone Camera Grid
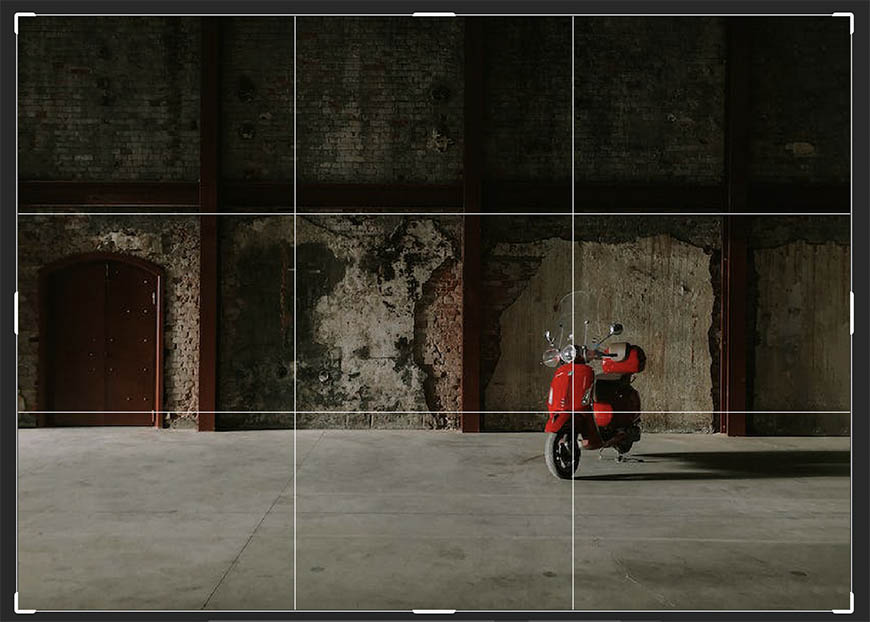
Credit: Emrullah Agir
Whether you’re a professional photographer or you’ve read a bunch of photography tips, you’ve probably heard of the essential rule of thirds.
The rule of thirds states that dividing your photographs into 3-by-3 grids and aligning the subjects to the vertical lines results in a captivating picture. It’s that simple.
Still, why does aligning your shots with the vertical and horizontal lines make for perfect pictures?
Simply put, placing your subject within one-third of your shot and leaving the rest open helps the viewers’ eyes focus. Typically, the element in the top third is prominent, while the ones in the bottom corners fade to the background.
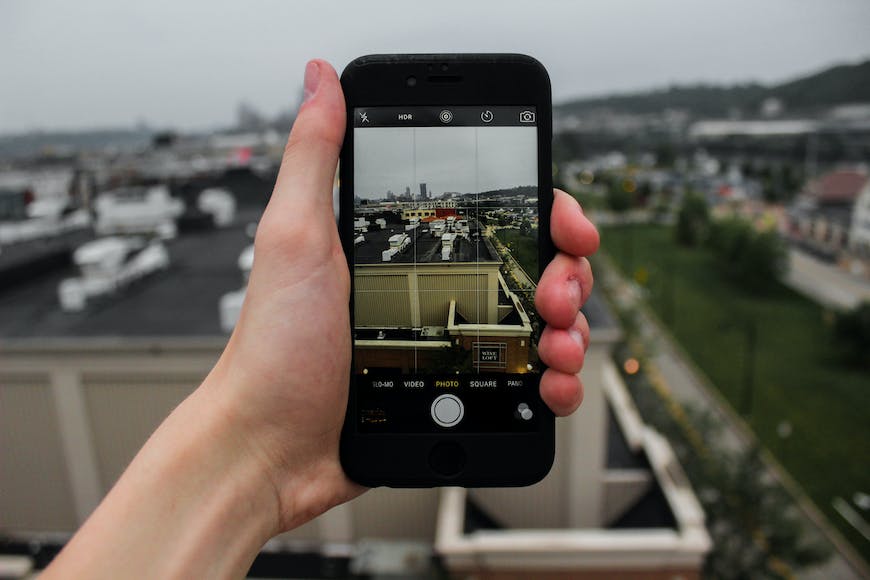
Highlighting the Main Subject with iPhone Camera Grid

Credit: Hannah Nelson
Accordingly, you can use the grid pattern and rule of thirds to your benefit by highlighting the main subject.
However, if you’re not a professional photographer, the grid line also makes for great framing, helping you bring forward your key element.
For example, the most popular way to frame your main subject is by placing them in the middle of the photo. While this can be simple without grids, the horizontal and vertical lines get the job done in seconds.
How Much Do You REALLY Know About Photography?! 🤔
Test your photography knowledge with this quick quiz!
See how much you really know about photography...

That’s not all. If you’re shooting landscape photos, utilize the grid feature, as it allows you to know exactly where to place the horizon. Usually, you should place it in the lower third horizontal line.
As for taking portrait pictures, simply align the subject’s eyes with the grid line for an alluring, well-balanced picture.
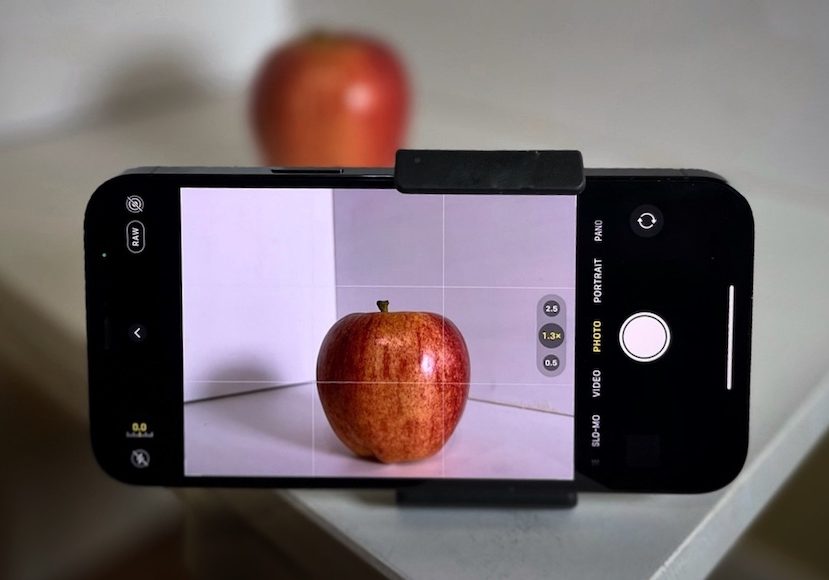
Leveling Your Camera Using iPhone Camera Grid Lines
Credit: Jeremy Levin
Have you ever looked back at your vacation pictures only to find they’re all tilted? Well, this is a problem of the past thanks to the camera grid.
Even if you’re not a professional photographer, you can quickly snap level photos by matching objects in the photo with the straight lines of the grid. This way, you won’t need to rotate your shots when editing.
Balancing Your Shots
Lastly, if you’re wondering how professional iPhone photographers achieve perfect balance and composition using the simple phone camera, the answer is simple: Gridlines.
First, the grid feature is your key to getting symmetrical photos without dumpling with your phone until the shot is gone. This can be particularly handy if you’re a candid photographer.
Additionally, a balanced shot is more than just a well-framed subject. Instead, the grid forces you to focus on the image as a whole when you’re shooting.
Accordingly, you’ll be able to use every pixel to your advantage, keeping negative space to a minimum!

Check out these 8 essential tools to help you succeed as a professional photographer.
Includes limited-time discounts.


Jeff Collier is an experienced film photographer who enjoys experimenting with modern digital photography equipment, software and apps. He’s also an ex-world champion triathlete and avid cyclist, clocking hundreds of km each week in the beautiful Tweed Valley of northern NSW, Australia.
WELCOME TO SHOTKIT
Enter your email to be sent
today's Welcome Gift:
19 Photography Tools
🔥 Popular NOW:


Shotkit may earn a commission on affiliate links. Learn more.