Create Picture Lighting Effects in Luminar with Magic Light AI
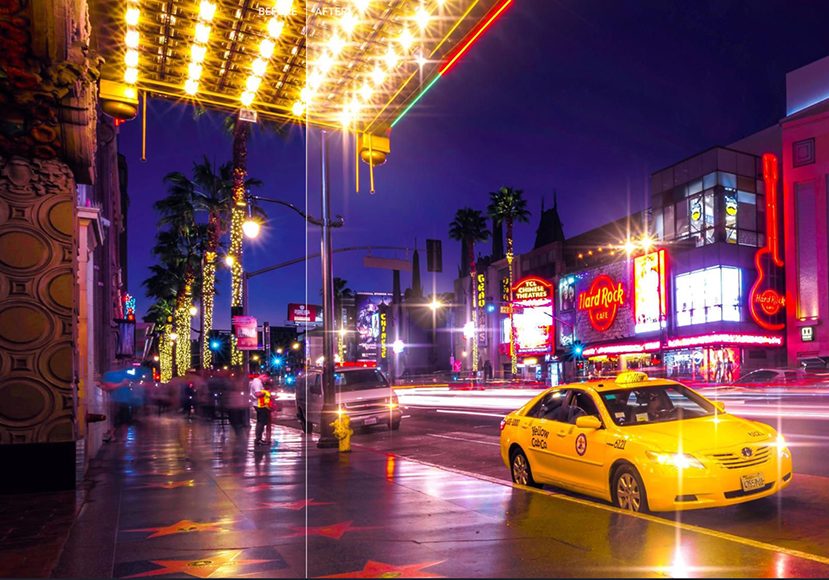
Experiment with visual accents in your photography - highlight street lamps in the night city and add dramatic long-exposure rays to car headlights.
Luminar | Software | By Stephan Jukic
Luminar Neo introduced Magic Light AI a while back, and I was itching to test it out and see how good it is and what it can do to my images.
I had a vague idea that it could transform my images and give them an interesting twist.

Bring some magic to the light in your photos in just one click
Use code shotkit10neo to save $10
This tool is designed to transform visible light sources in your images – streetlights, neon Christmas lights, candles, lamps – you name it, and Magic Light AI can handle it, rendering a magical look to your photos.
So download Luminar and follow along with this tutorial.
Table of Contents
How to Get Luminar Neo’s Magic Light AI
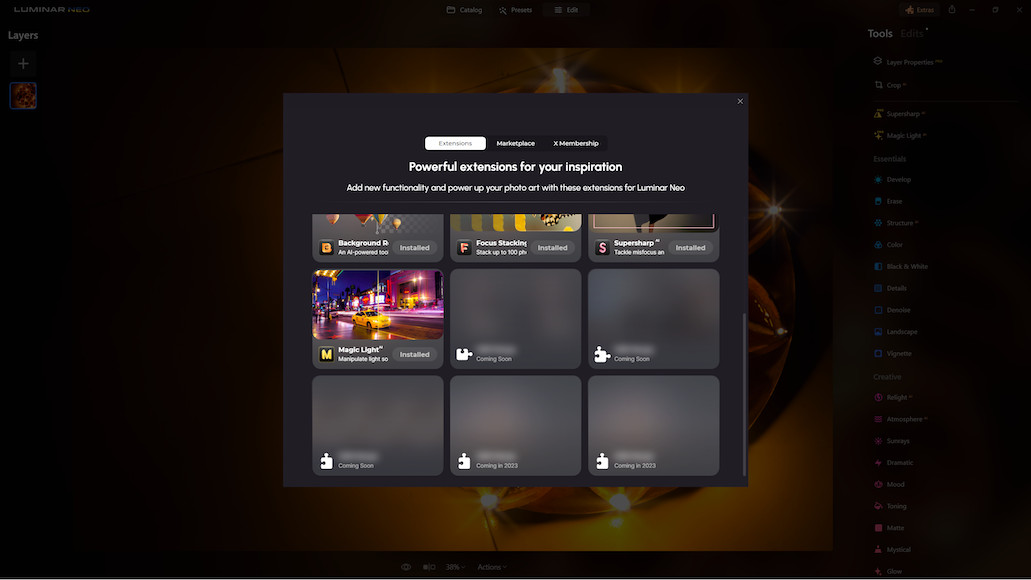
Before we plunge headfirst into the creative process, I want to tell you that Luminar Neo’s Magic Light AI is a part of the Extensions pack, which also includes Nosieless AI, Upscale AI, Background Ai and more.
If you’re signed up for the right plan, all you’ve to do is click on Extras and then click on the 7th option – Magic Light AI on that pop-up window.
It only takes two seconds for the tool to install.
Check the pricing in your currency here >> (Use code shotkit10neo to save $10)
Choosing an Image
This tool works best when you’ve visible light sources in your image. One more thing – the whole purpose of this tool is to capture what we call sunbursts.
So, when you apply this effect, ensure the result looks realistic, or it will appear cheesy and over the top. So, no point in using this for compositions, e.g., the moon on a clear night.
Experimentation
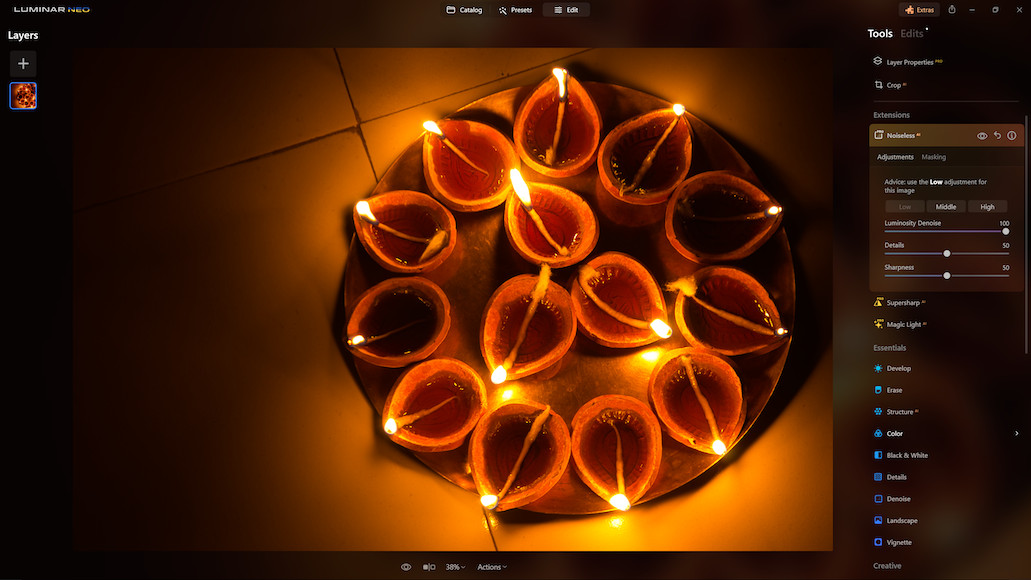
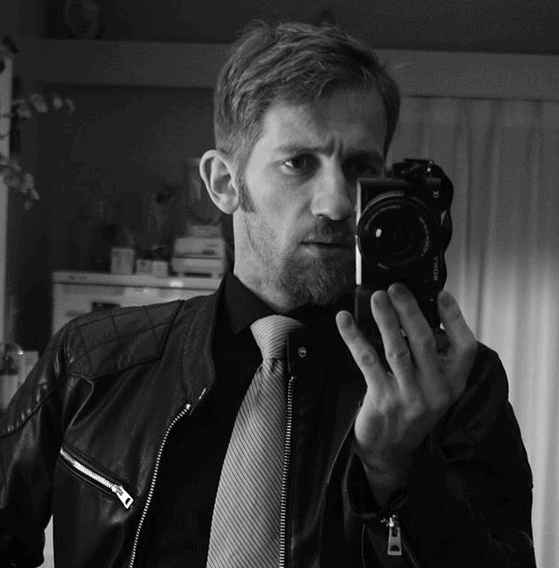
This is the image I used to experiment with Luminar Neo’s Magic Light AI.
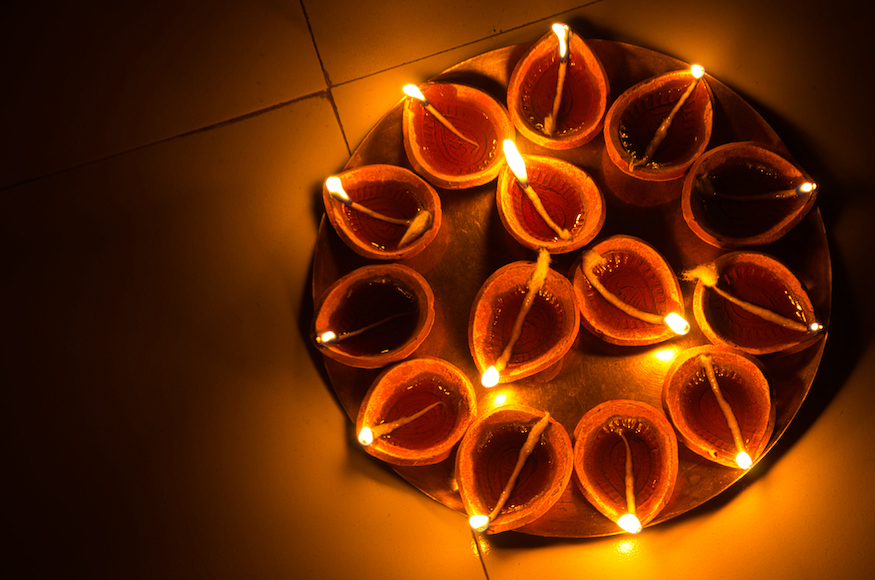
It’s a simple set-up, shot with no other light source in the room.
Preparations
I made two simple changes to this image before switching to Magic Light AI.
The first was a customary adjustment to the noise levels using the Noiseless AI tool, and the second was a Temperature adjustment. You will find this option under Develop > Color.
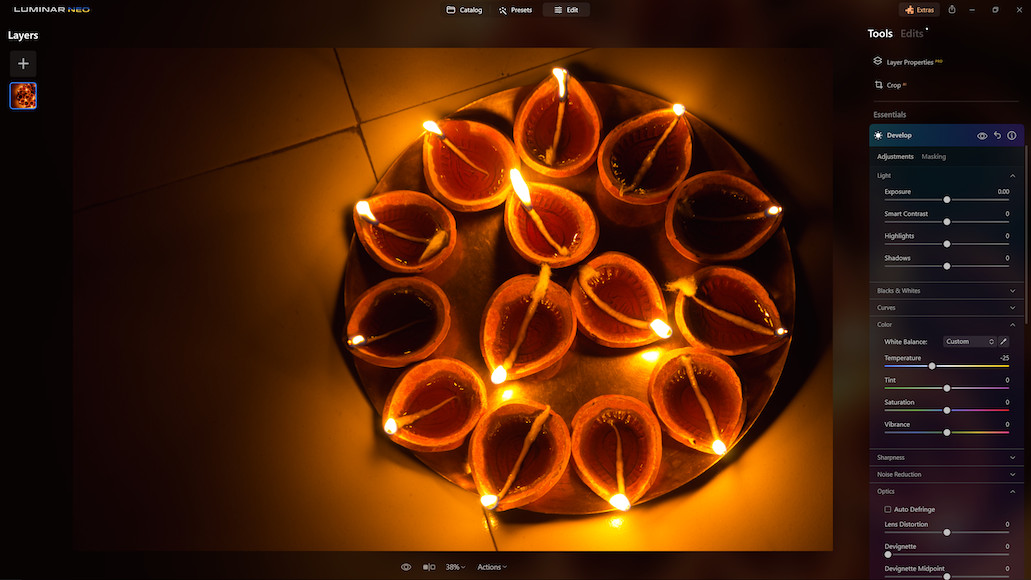
The image was a little too warm for my liking. The red clay lamps were imparting too much redness to the image, and I needed to tone it down.
Over to Magic Light AI
Once those customary changes are out of the way, let’s head over to Magic Light AI.
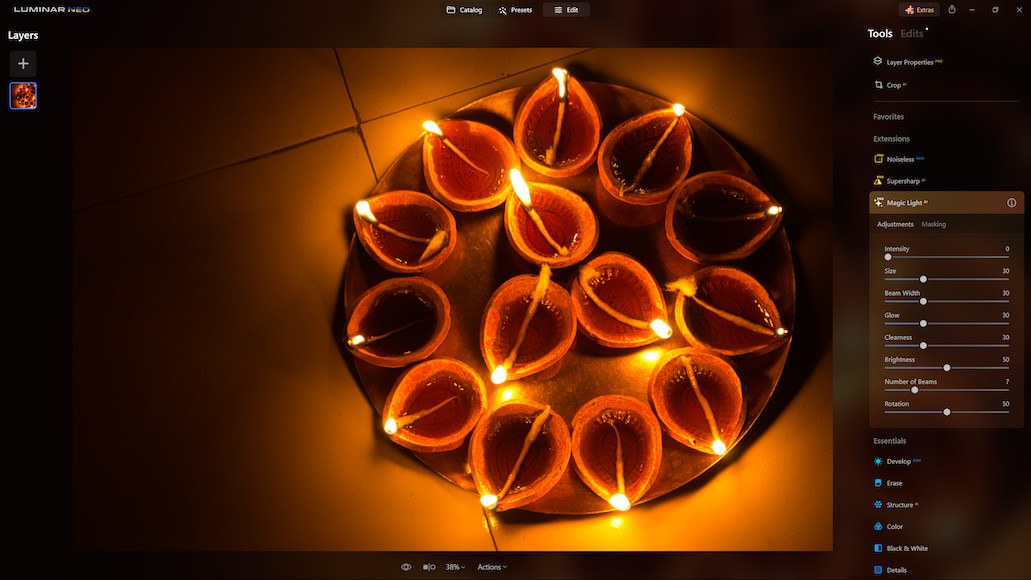
As you can see, there are a bunch of customization options under Magic Light AI. I intend to use the ones that make the most sense and add to the overall composition and aesthetics.
My first order of business is tweaking the Intensity slider.
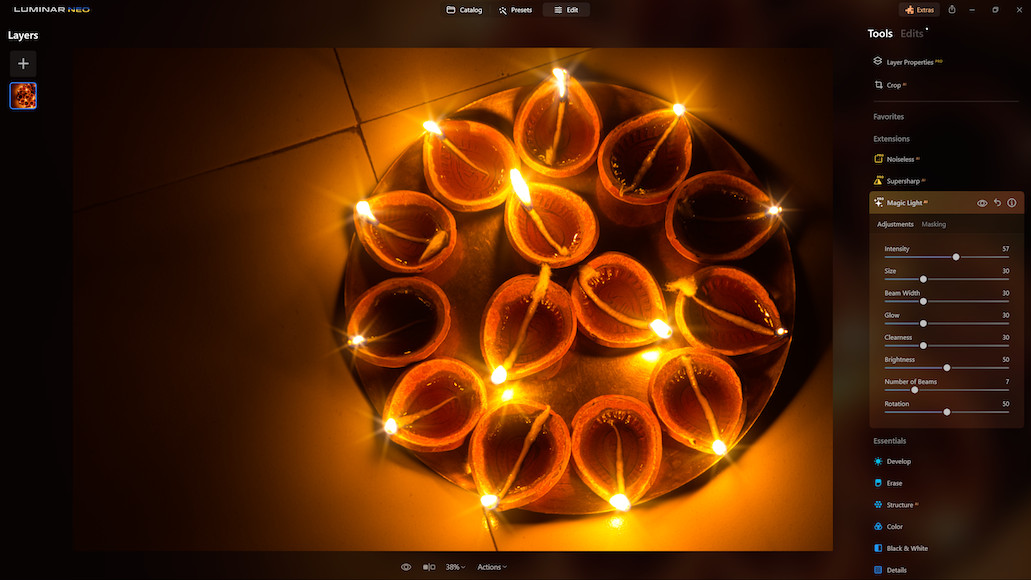
Straightaway you can see that the light beams have formed, and the image looks more attractive.
Next up is the Size slider. As you can see, this is a significant change. It adds a nice glow around the light beams.
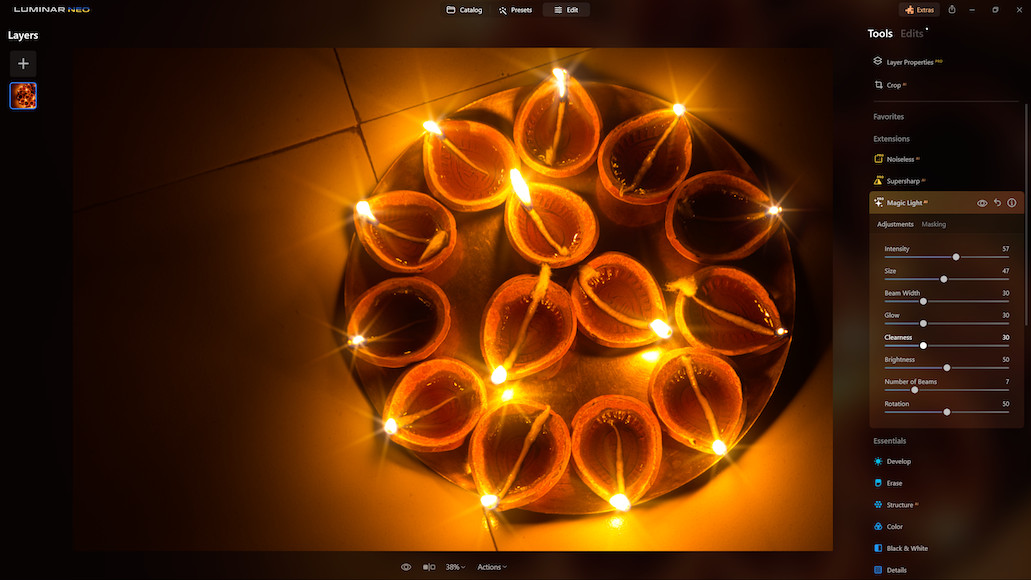
Next, I will adjust the Beam slider.

It adjusts the width of the beams and makes them more pronounced.
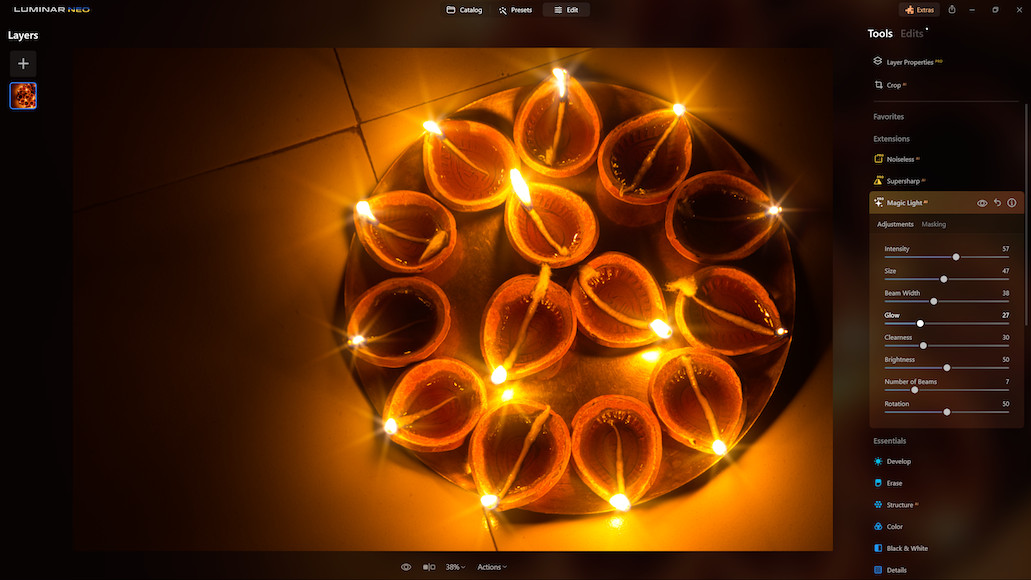
Next, I adjusted the Glow slider. This is a subtle change, as I didn’t want to go overboard with this effect.
Next up is the Clearness. Tweaking this slider adjusts the glow around the light beams.
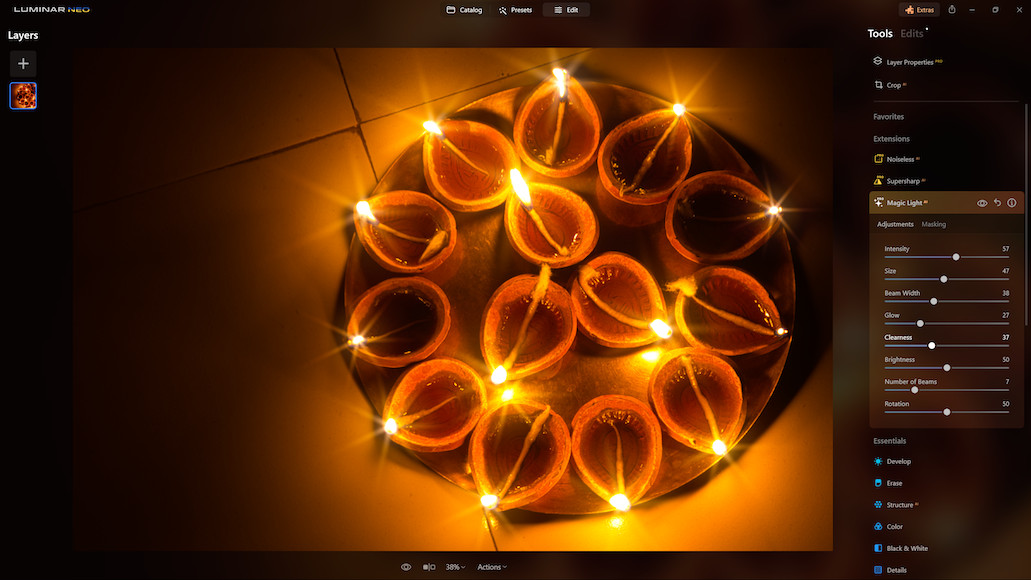
For every little change that you make with these adjustment sliders, you’ve to eyeball them. There is no right or wrong way of doing it, except it must be believable and natural.
After you’ve made the adjustments, I suggest taking a break for a few minutes.
Come back and then check the before and after images to take a final call.
Sometimes while editing an image, deciding whether the effect is looking too over the top can become difficult, because you are looking at the same image for a long time.
The next adjustment is the Brightness slider.
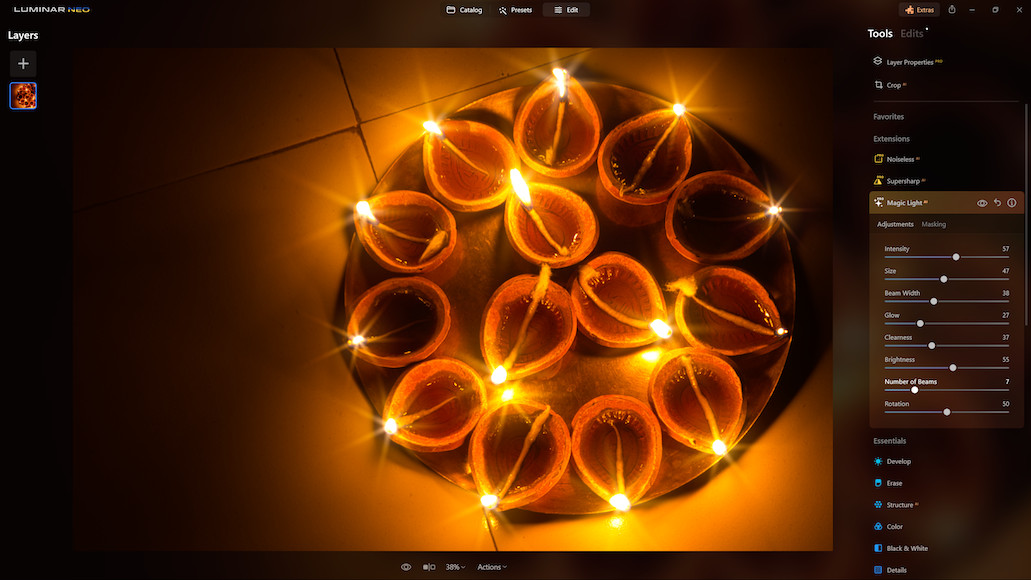
This is yet again a subtle change.
The final adjustment will determine the number of light beams for the light sources. This you can adjust by tweaking the Number of Beams slider.
This is a very interesting sub-tool. Again, something that you’ve to handle with due diligence. Just because you can add up to 24 light beams doesn’t mean that’s a good thing.
For this image, I believe 7 to 8 light beams are enough. I did not use the Rotation slider for this image.
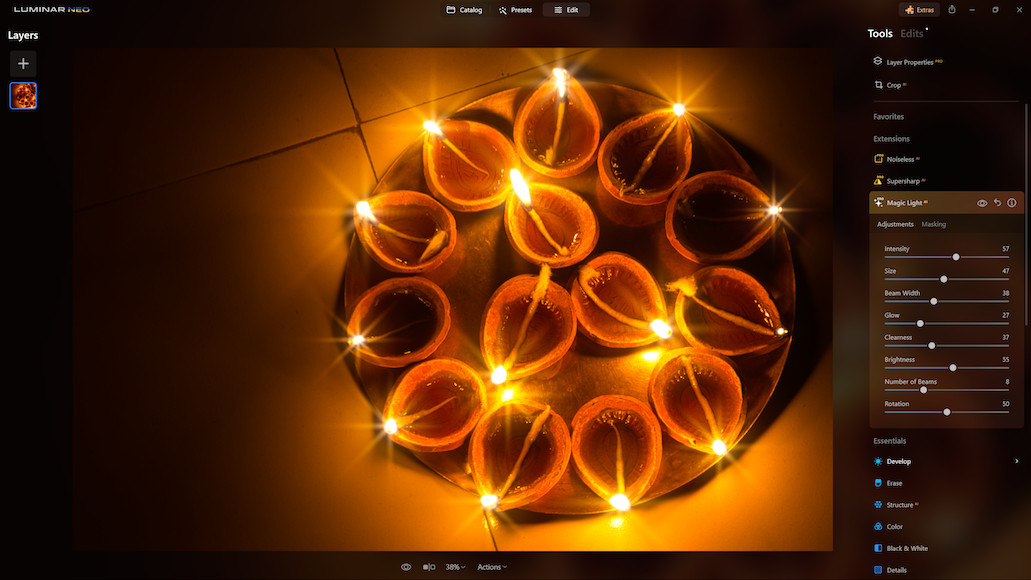
There is one last thing that I would want to do. If you look closely at the edited image thus far –
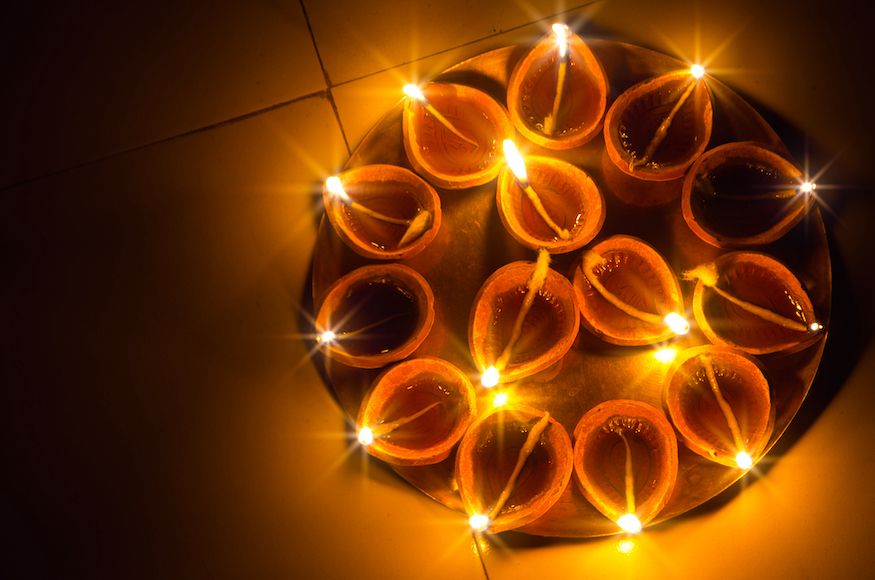
You will notice that there are two false beams. These are the reflections of the lamps caught on the brass plate.
Luminar Neo’s Magic Light AI has transformed those as well. This does not look natural, and I needed to remove them.
Thankfully there is an easy solution built into the tool. Go to Masking and click on Brush. Choose a brush Size, Softness, and Strength, and click on Erase.
Then paint over the areas where you don’t need the light beams.
Here is the final image after the adjustment –

Looks a lot more natural to me. Don’t you agree?
Wrapping Things Up
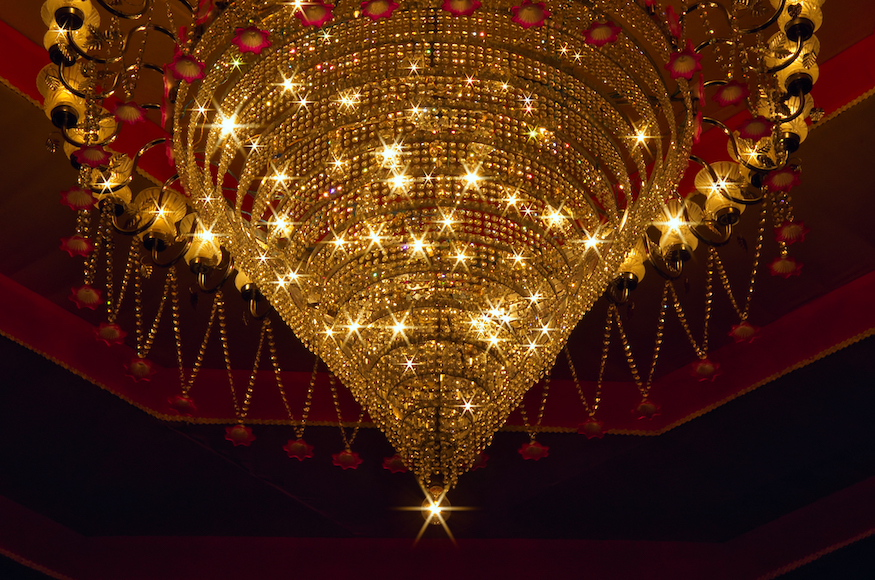
Luminar Neo’s Magic Light AI is an interesting tool with many applications, especially if you shoot at night and use artificial lights in your compositions.
By artificial lights, I don’t mean strobes and continuous lights – the sort we use for portraits, products, and other shots. Rather, I refer to sources like street lights, neon lights, and candles.
Magic Light AI can transform those into something interesting, thereby popping your images’ final look and feel.
You can use them to transform your birthday pictures, Christmas images, portrait shots with street lights in the background, general nighttime street photos, and more. You’re only limited by your imagination.

Bring some magic to the light in your photos in just one click
Use code shotkit10neo to save $10


